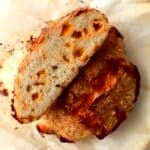
This easy No-Knead Cheese Bread uses an amazing dutch oven method that requires barely any prep work on your part. Seriously just 5 ingredients, less than 10 minutes of prep, and you're on your way.
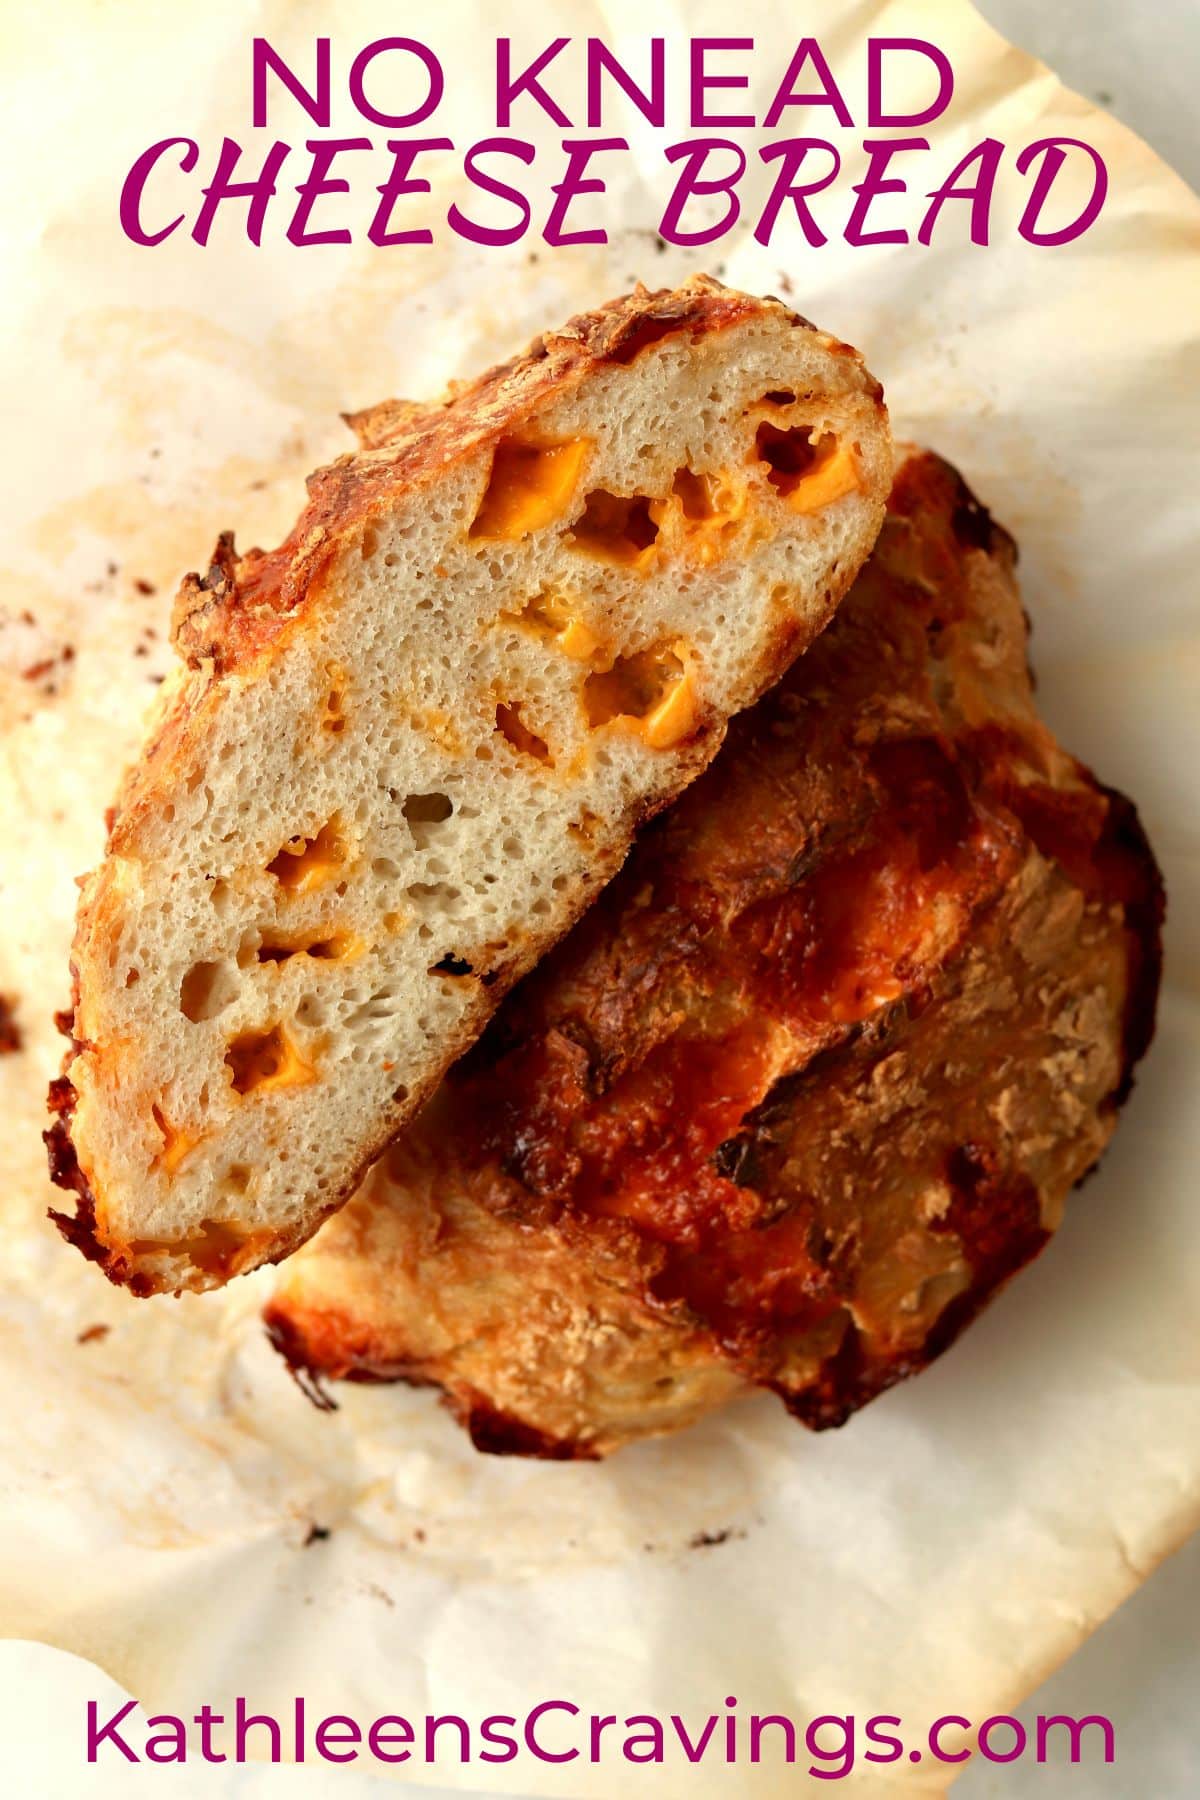
Bread making and baking with yeast can be scary and intimidating, but fear no more. This Dutch Oven Bread is going to blow your mind and is there anything better than Cheesy Bread?! I think not! It's great on its own for a snack or serve alongside a comforting dinner like this classic beef chili, slow cooker chicken noodle soup, or turkey chili.
Jump to:
⭐Why I Love It
- Only 5 Ingredients - You only need five simple ingredients (including water!) to make this bread recipe.
- No Kneading - Many bread recipes require kneading, but this recipe you just mix up the dough by hand and let it sit to rise.
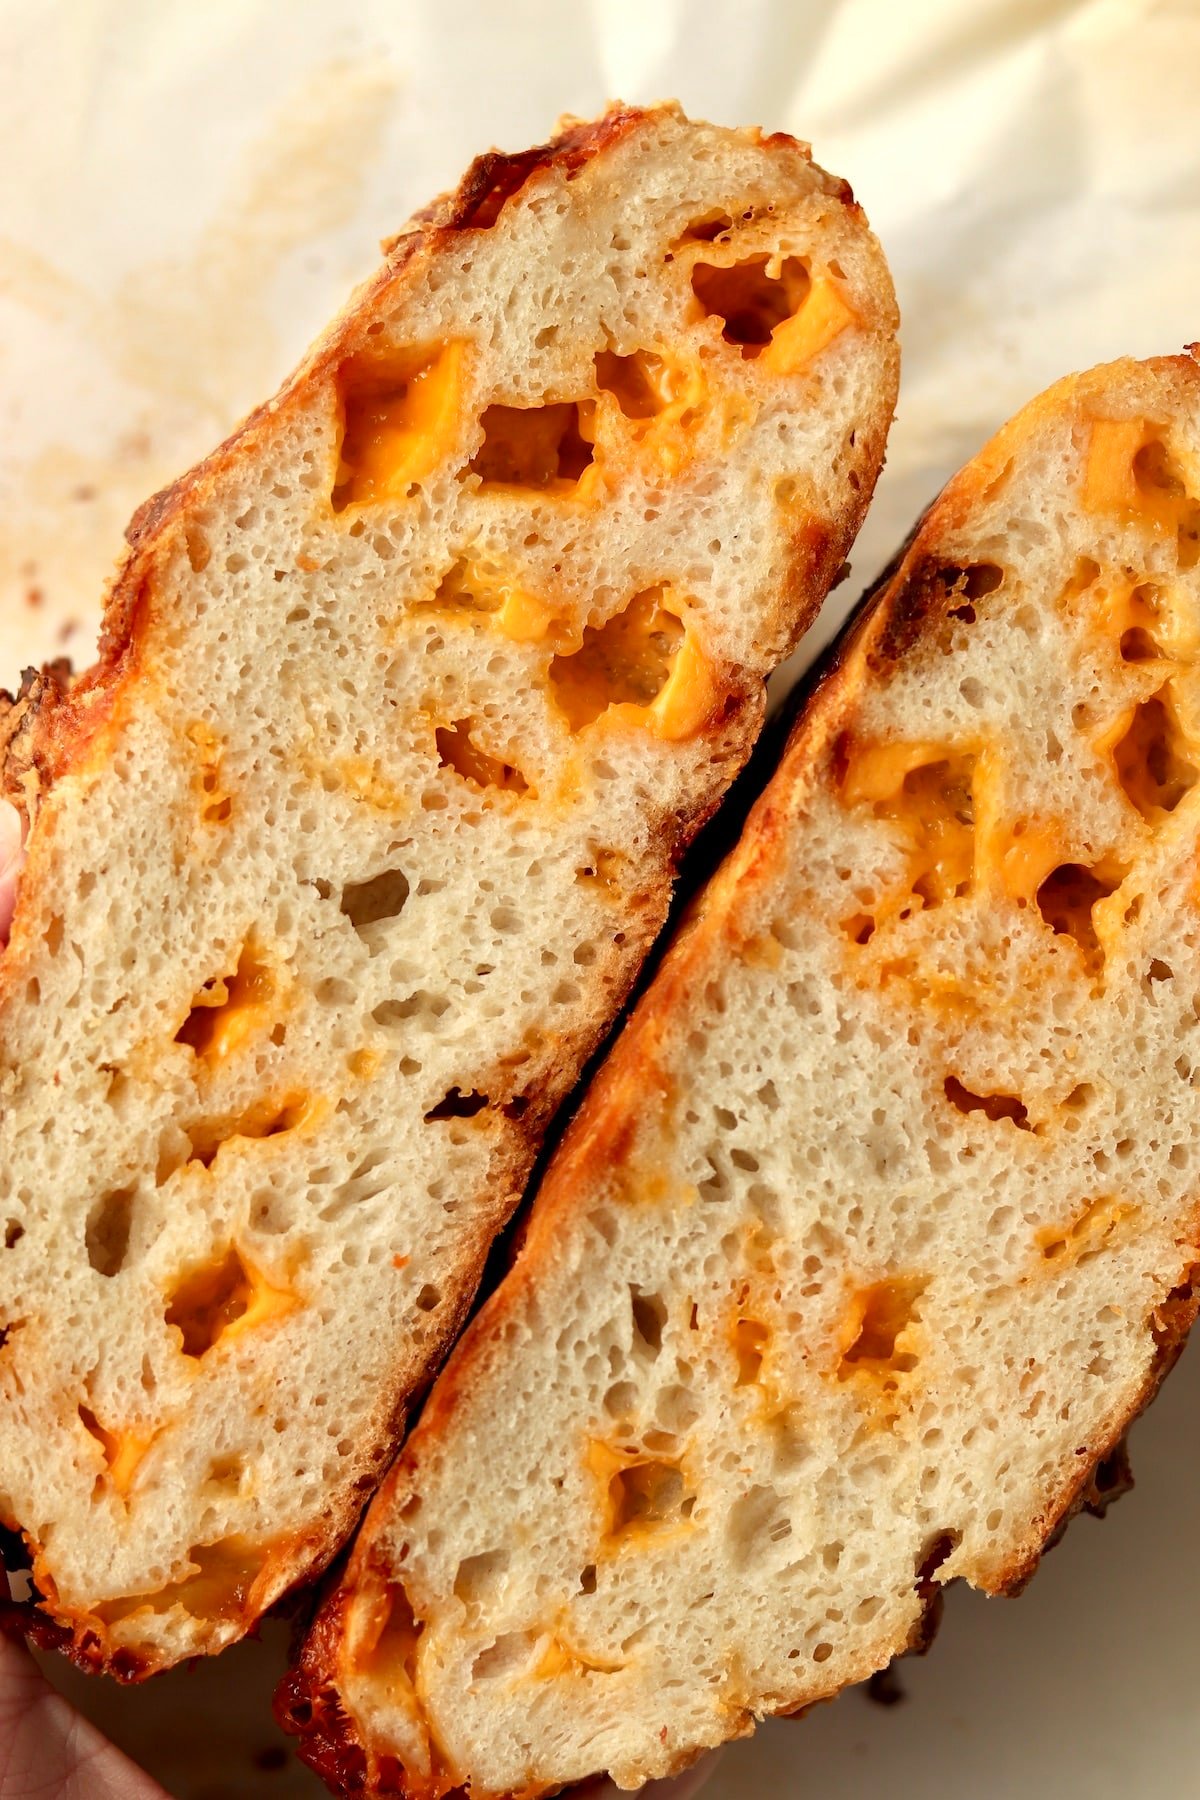
- Golden Crust with Soft Inside - The outside of the bread gets a golden crust while the inside stays soft with pools of gooey cheese.
🥘Ingredients and Equipment Needed
- All-Purpose Flour - You can also use bread flour, see the variations sections for more info.
- Kosher Salt
- Active Dry Yeast - You can buy it in packets or in a small jar. If you buy the jar, you need to store the rest in the fridge after opening.
- Lukewarm Water
- Sharp Cheddar Cheese - A chunk that we cut into small cubes.
- Parchment Paper - This is essential for lifting the bread dough into the preheated dutch oven.
- Cast Iron Dutch Oven with Lid - I used my 4qt Staub Dutch Oven but a larger dutch oven will also work. Just don't use anything smaller than a 4qt.
See the recipe card for full information on ingredients and quantities.
📖Variations
- Cheese - You can swap in another chunk of cheese or you can even use shredded cheese. If you don't want the cheese, you can completely skip!
- Add Jalapeños - For a spicy spin, try adding in diced or sliced jalapeños.
- Bread Flour vs All-Purpose Flour - I almost always make this bread with all-purpose flour and LOVE the results. You can swap in the same amount of bread flour. Bread flour has a higher amount of protein which will give the inside of the bread a chewier texture.
- Other Mix-Ins - Instead of cheese, you can get creative with other mix-ins like roasted garlic in this Roasted Garlic No Knead Bread.
🔪Step by Step Instructions
While many artisan breads require multiple proof stages (letting the bread rise) and lots of kneading, this no knead method is so simple but gives amazing results!
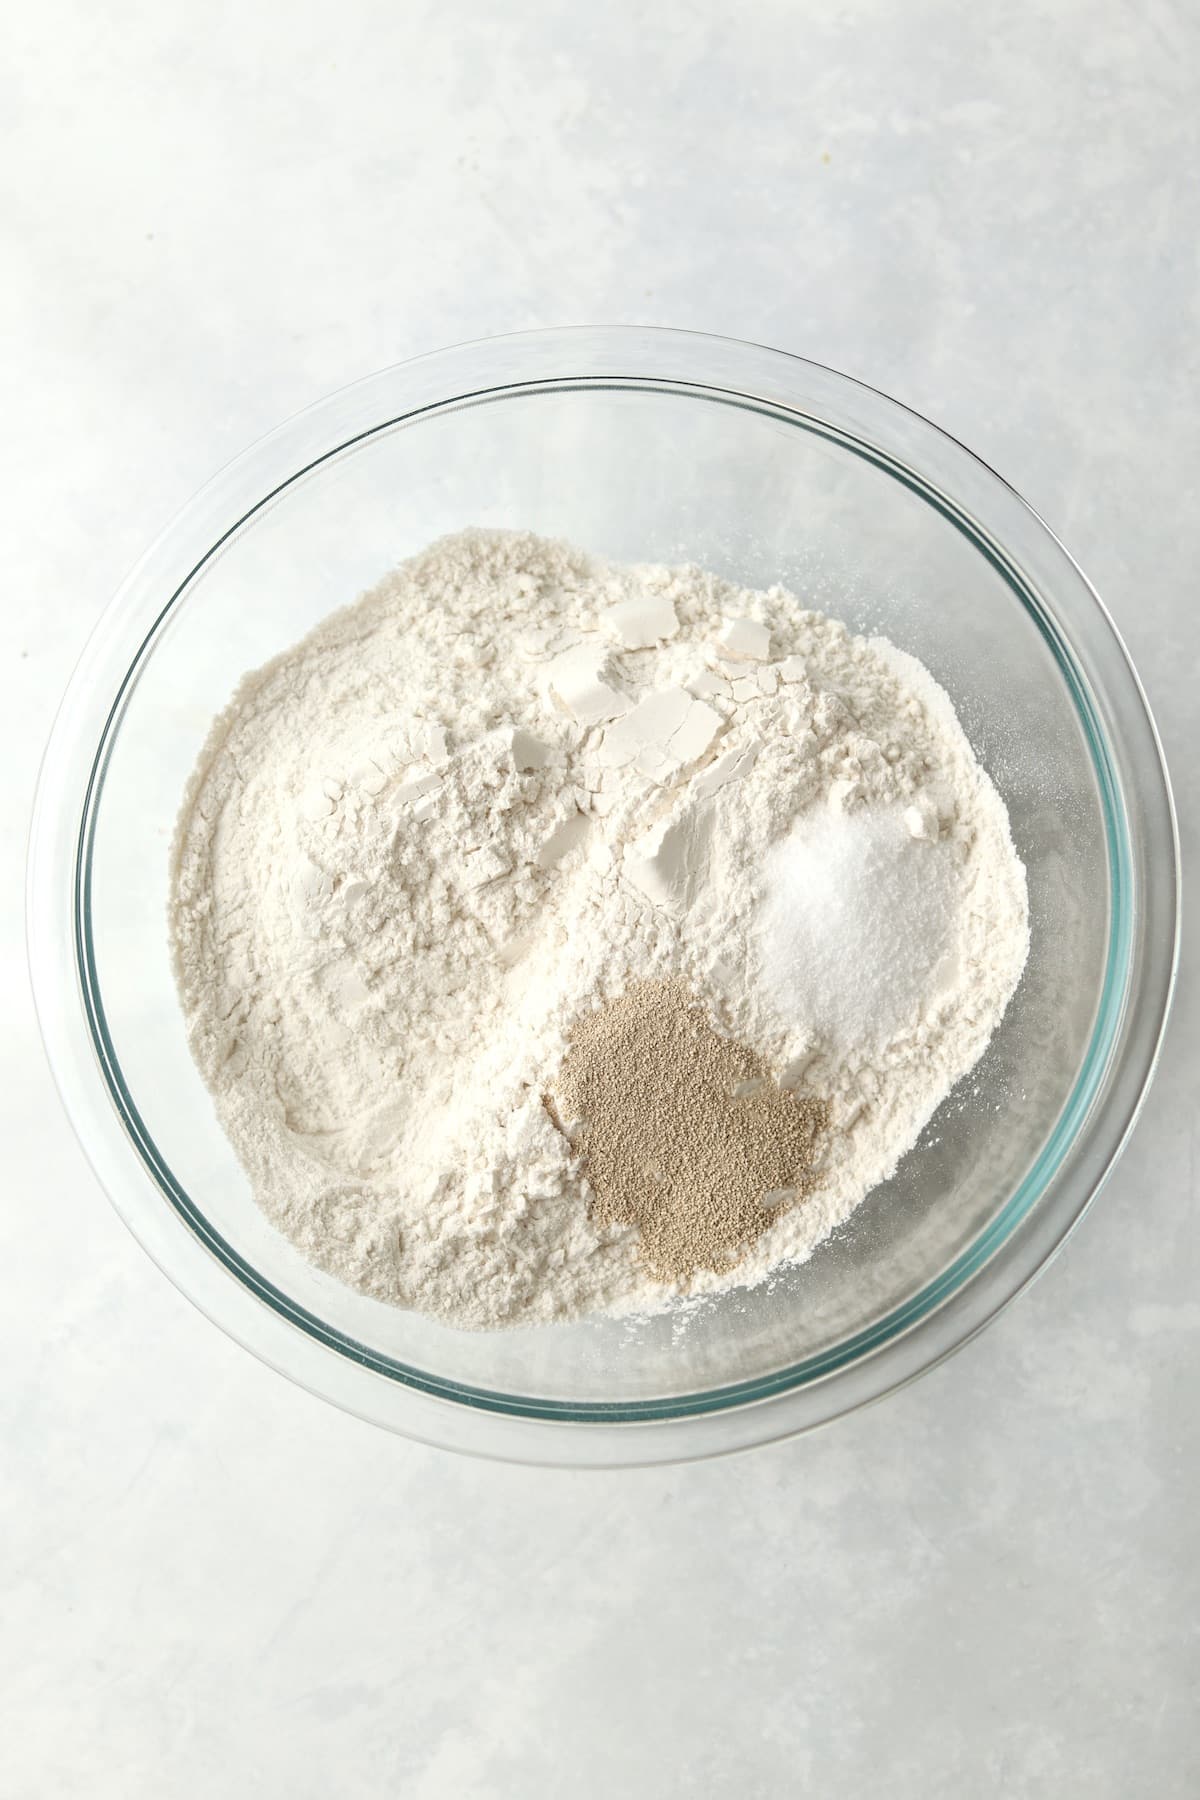
Photo 1 - Whisk together the dry ingredients in a large mixing bowl.
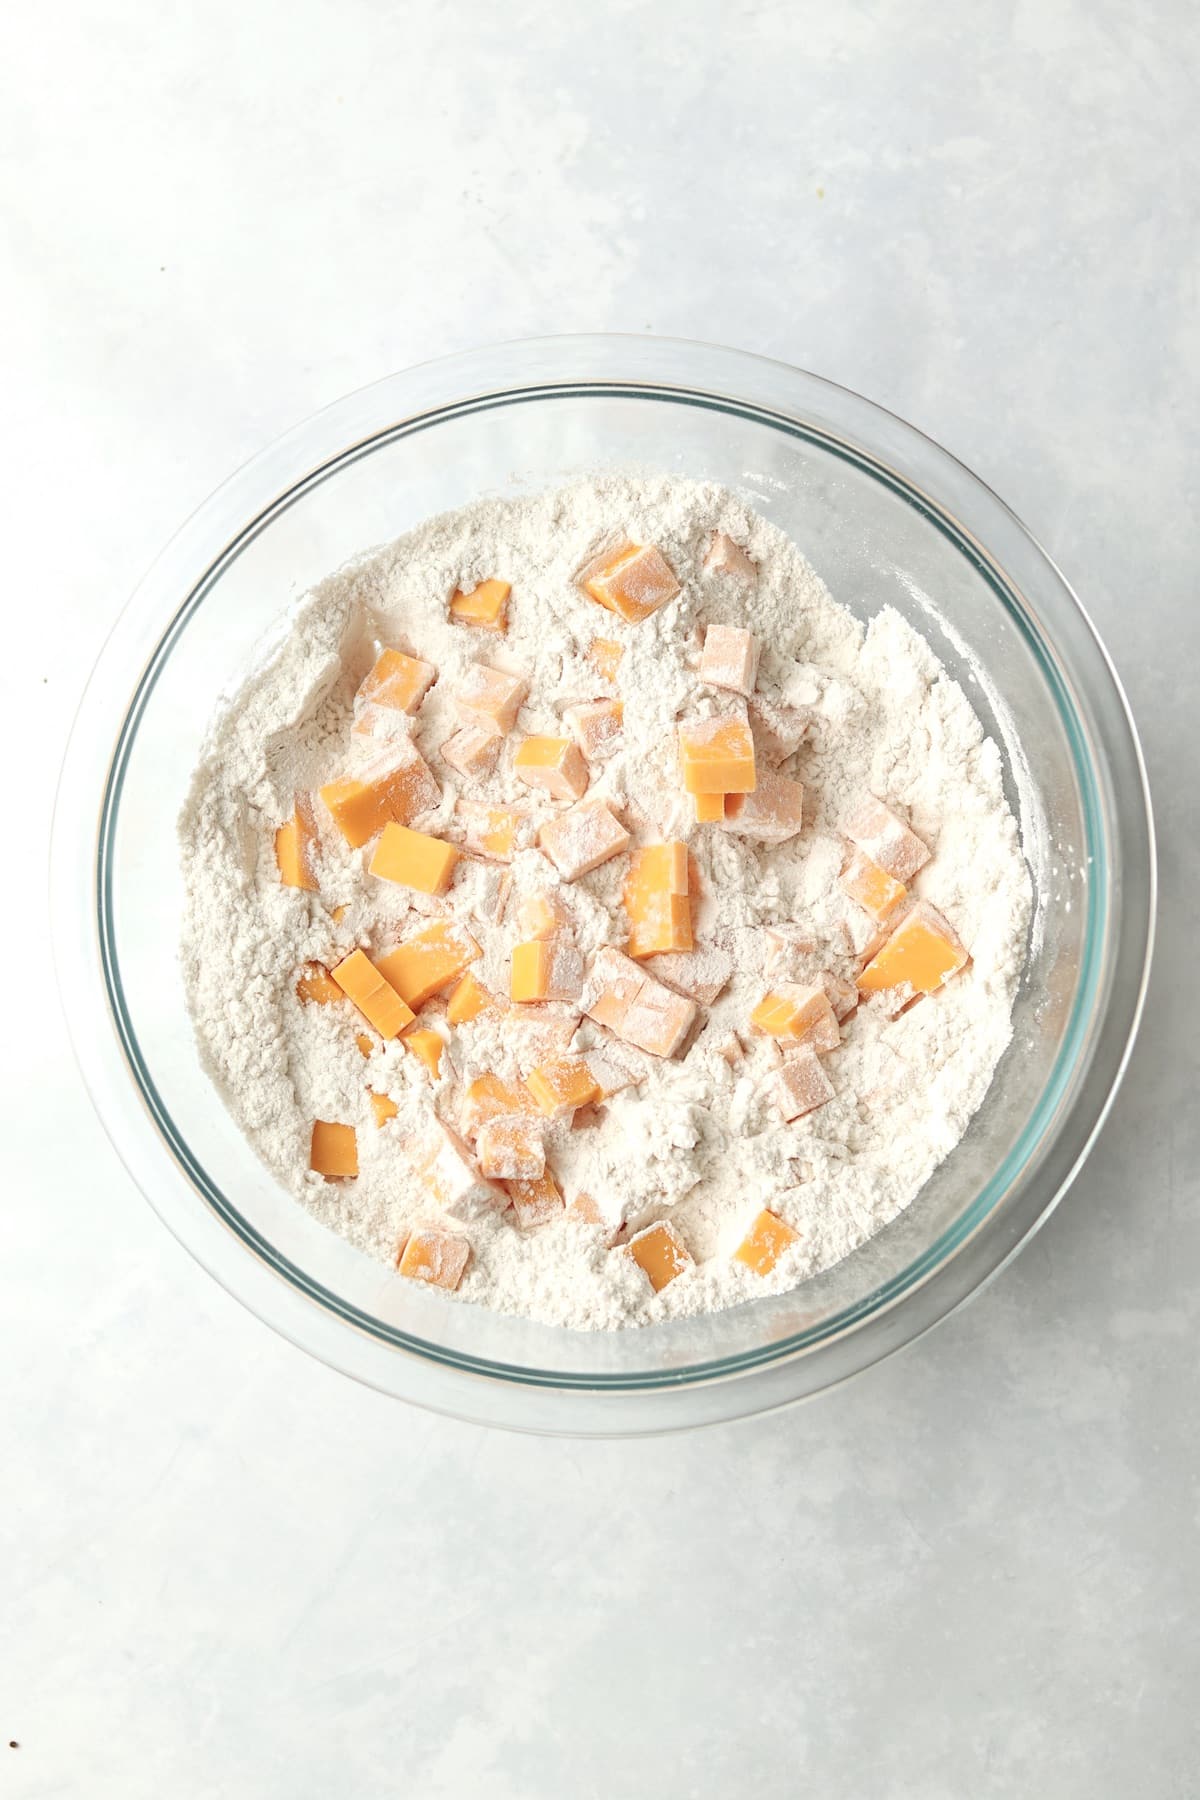
Photo 2 - Toss in the cubed cheese.
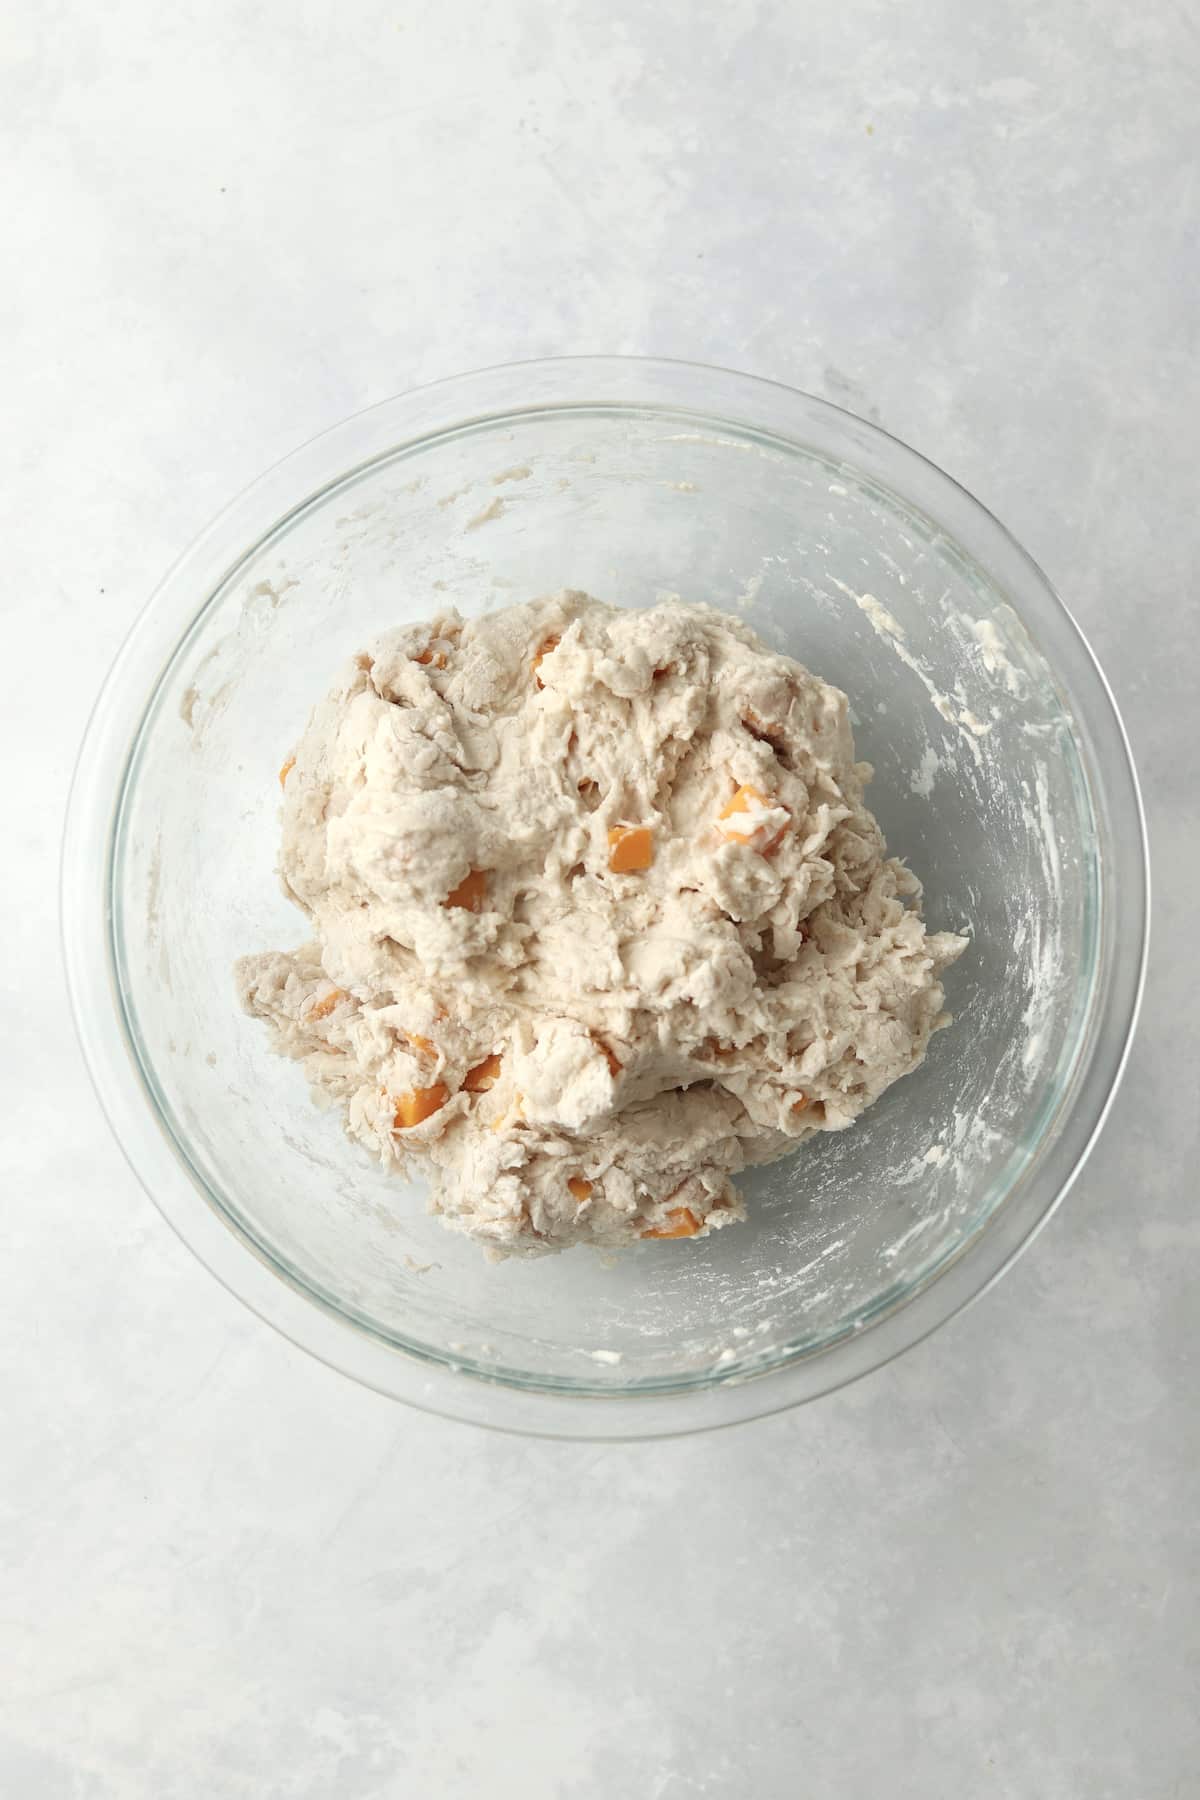
Photo 3 - Slowly stir in the warm water.
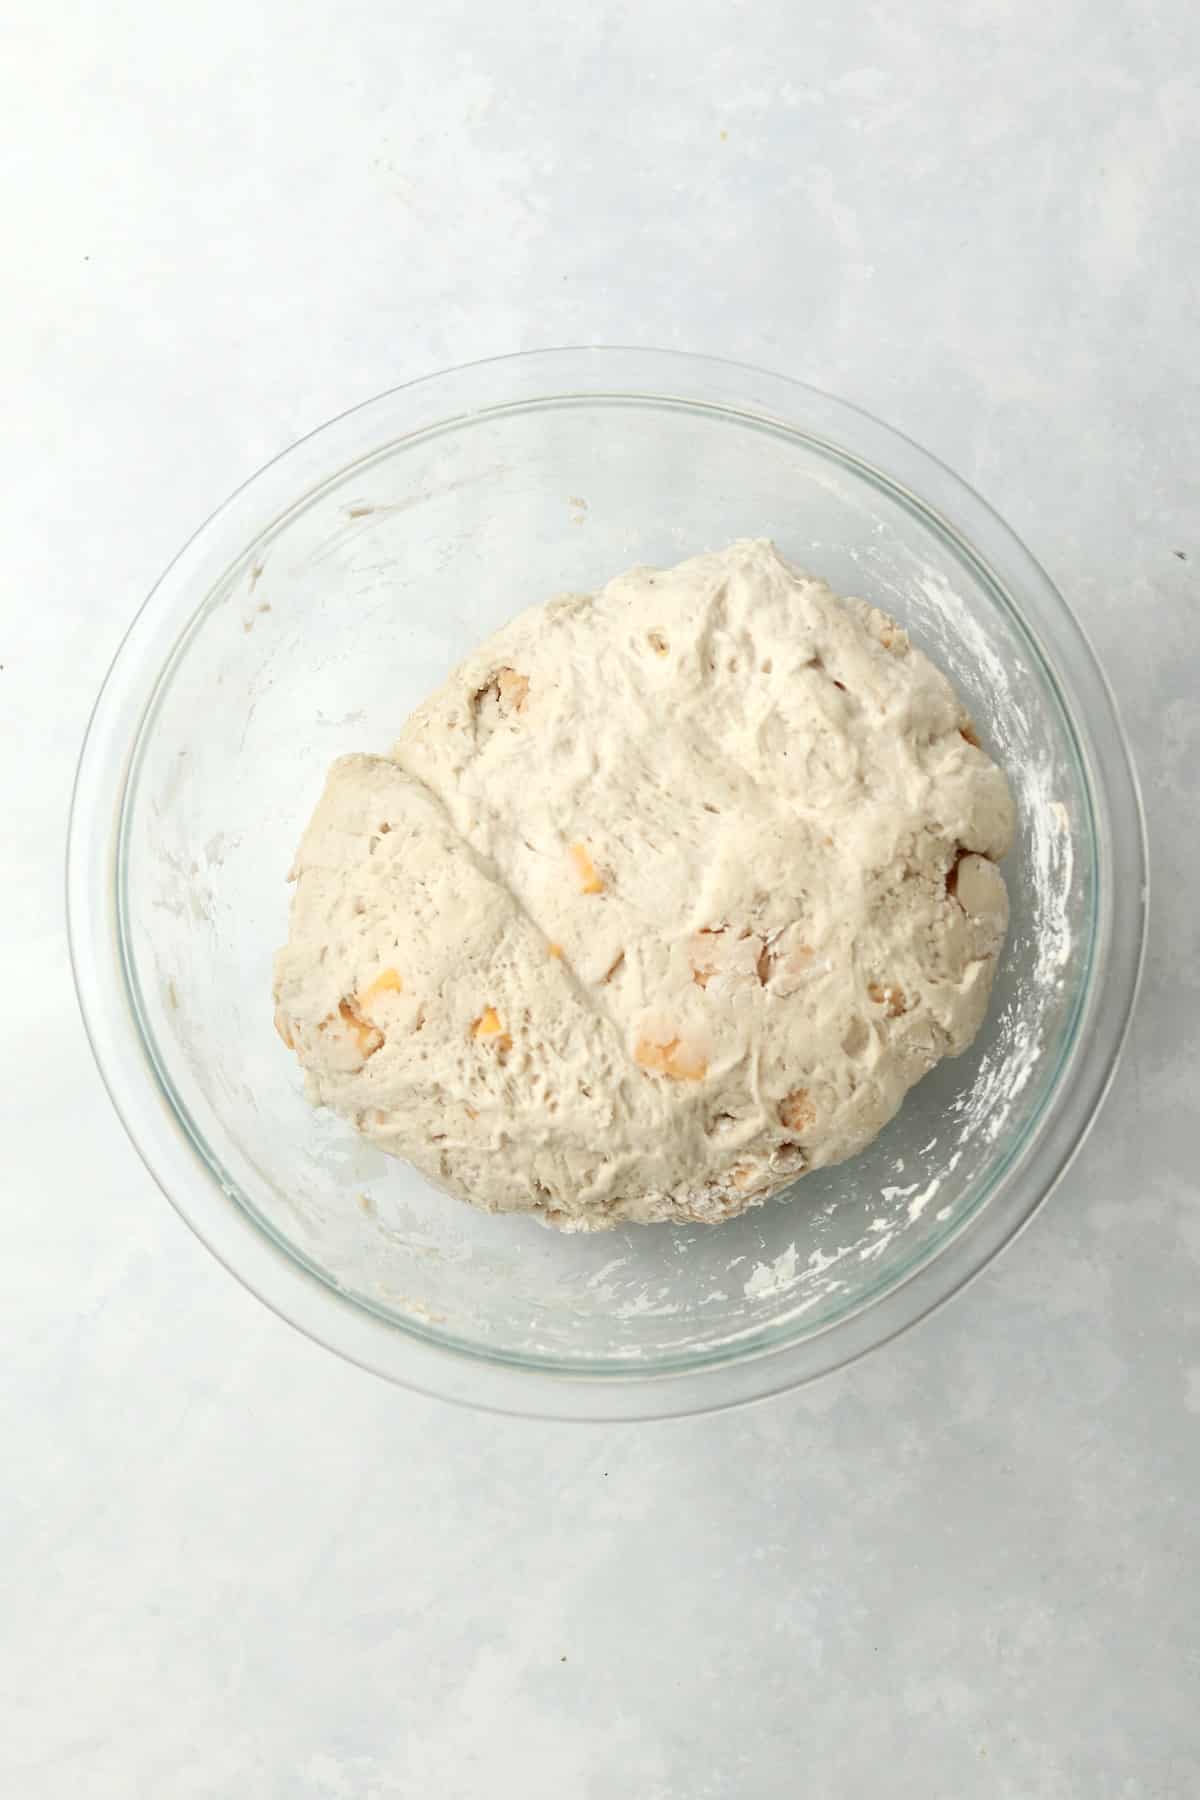
Photo 4 - Cover with a towel or plastic wrap and let sit for 12-16 hours. I like to let it rise overnight. The dough will rise and double in size.
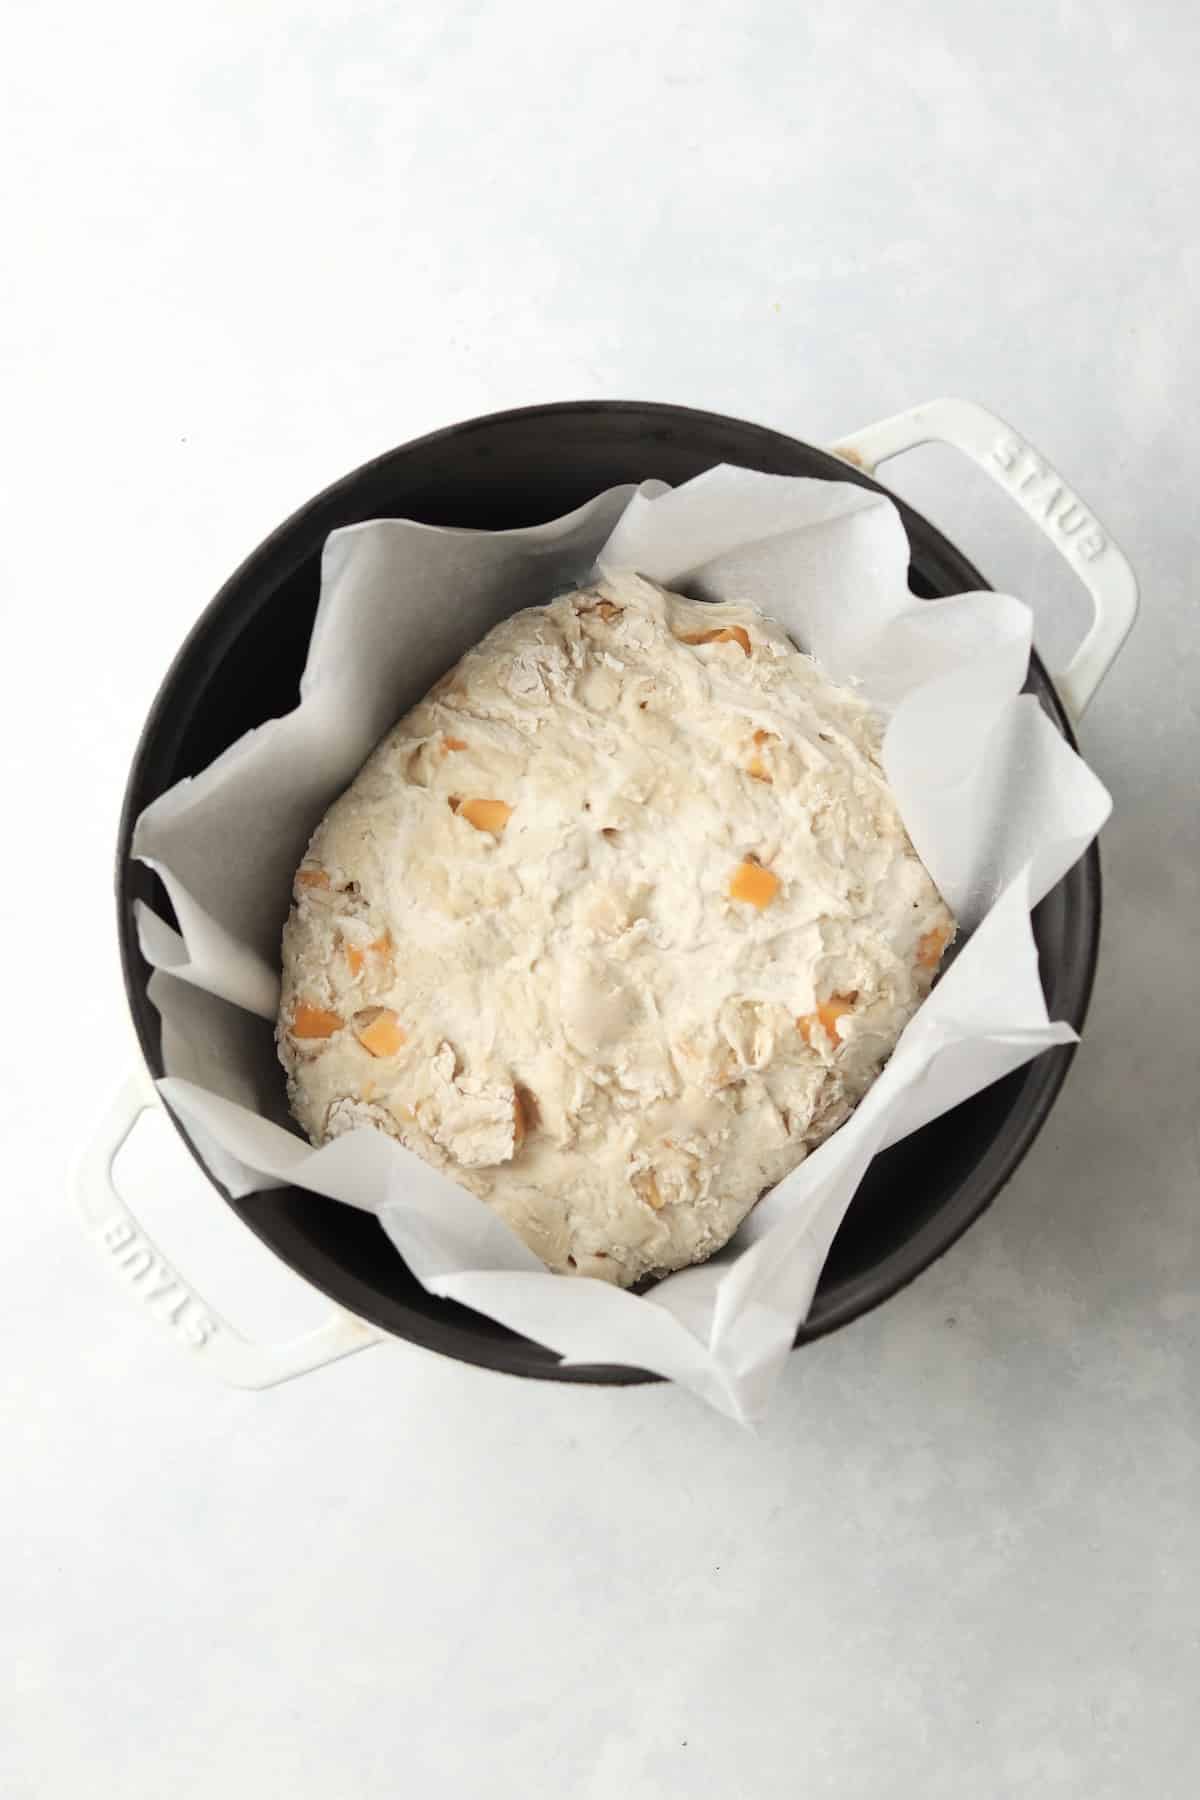
Photo 5 - When almost ready to bake, preheat the oven and preheat the dutch oven, empty, for 30 minutes. We want the dutch oven nice and HOT! *see notes about preheating a Dutch Oven.
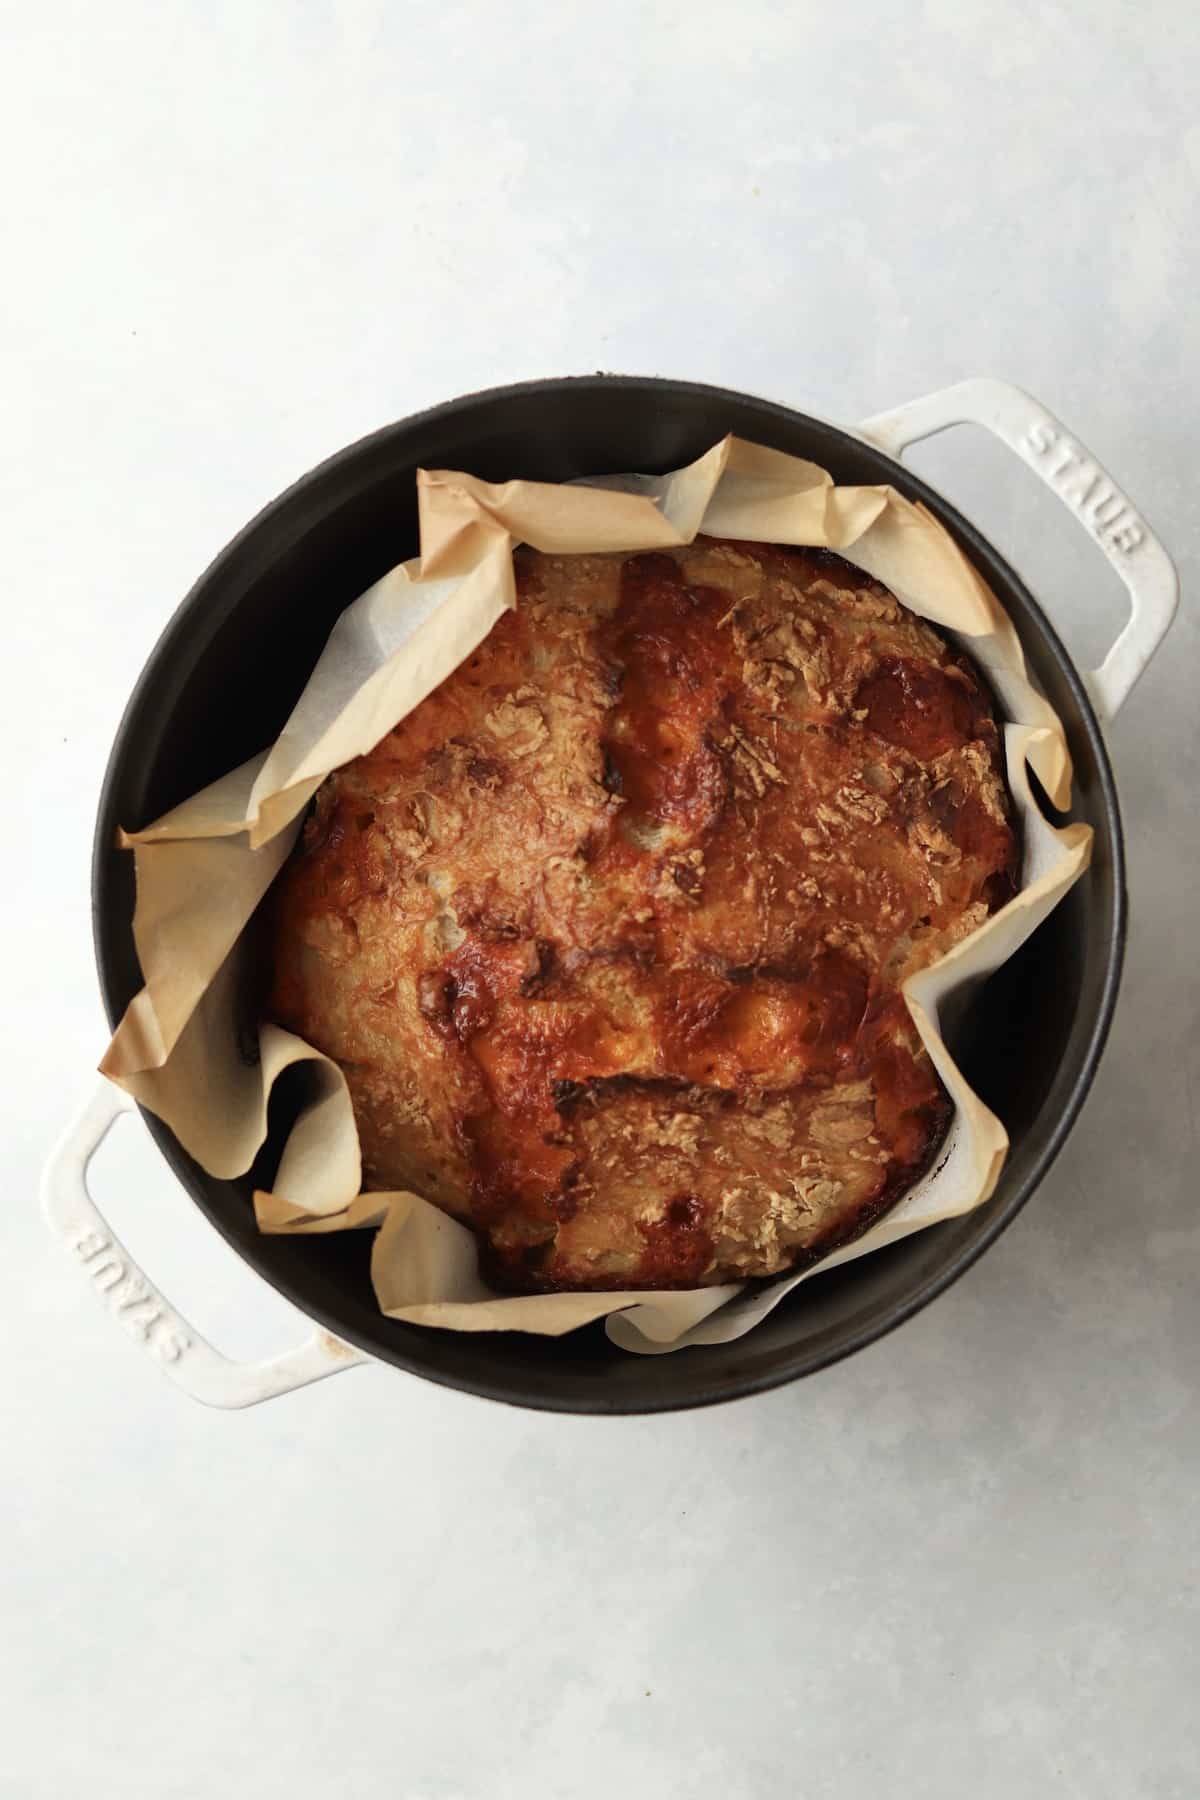
Photo 6 - Bake in the preheated oven with the lid on for 30 minutes then remove the lid and bake for another 15-20 minutes. The bread will be golden brown and very crusty.
💭Recipe Tips
- Preheating a Dutch Oven - Some manufacturers recommend that you don't heat an enameled dutch oven empty at high temps at the risk of cracking the finish. I have never had an issue, but you can also use a regular cast iron Dutch Oven that isn't enameled. Lodge makes a great Cast Iron Double Dutch Oven that I also use and love.
- Preheat Dutch Oven - It's important to preheat the Dutch Oven so it gets nice and hot. To prevent damage to the Dutch Oven, you want to add it to the cold oven and then turn it on to preheat. It's better for the Dutch Oven to heat up slowly.
- Dutch Oven Size - Pictured is a 4qt Dutch Oven. You can use one larger, but do not use one smaller.
- Trim Parchment Paper - After lifting the dough into the Dutch Oven, you'll want to quickly trim or tear any of the excess parchment paper so it's not sticking over the edge with the lid on.
👩🍳Recipe FAQs
When you leave the bread dough to rise, you cover it with a towel or plastic wrap to help keep the dough from drying out.
If your bread crust is too hard, I recommend lowering (or raising) the oven rack so the pan isn't as close to the heat source. Also keep in mind that some ovens run hotter than other, so you can also lower the temp by 25 degrees F if you think yours runs hot.
Adding salt is important for no-knead bread for two reasons. First, salt adds flavor. Second, salt controls the activity of the yeast since it competes with the yeast for the water in the dough. This is helpful in no-knead bread because of the long rise time. Without the salt, the yeast would produce too much gas and lose some of its rising power before you're ready to bake.
This No-Knead Cheese Bread is done when the crust is golden and thick and makes a hollow sound when tapped. golden and has a hard crust. Or you can use a thermometer to check the internal temperature - it should read 200-210 degrees F.
No-knead bread is different from bread because it uses a method with a long rising (or fermentation time), instead of kneading. The dough for no-knead bread is typically pretty wet compared to a regular bread dough.

This no-knead, dutch oven method of making bread has been around forever and is very popular on the interwebs. I first learned about the method from Pinch of Yum and this recipe.
Those ads on the page? A portion of all ad revenue is being donated to Warrior Dog Rescue. A MN-based dog rescue that I foster and volunteer with.
PrintRecipe
No-Knead Cheese Bread
Easy No-Knead Cheese Bread uses an amazing dutch oven method that requires just 5 ingredients and less then 10 minutes of prep. You'll want to make this dutch oven bread every week! Nothing better than cheesy bread.
- Prep Time: 5 minutes
- Cook Time: 50 minutes
- Total Time: 13 hours
- Yield: 1 loaf
- Category: Sides
- Method: Oven
- Cuisine: American
- Diet: Vegetarian
Ingredients
- 3 cups all purpose flour
- 1 ½ teaspoons kosher salt
- 1 teaspoon active dry yeast
- 1 ½ cups lukewarm water
- 8 oz sharp cheddar cheese, cut into small ¼ inch dice
- parchment paper
Instructions
- Mix Dough - In a large bowl, whisk together the flour, salt, and yeast. Toss in the cubed cheese so the cubes are coated in the flour. Slowly mix in the warm water using a wooden spoon or rubber spatula. Mix until just combined. The dough will be very sticky and shaggy looking.
- Let Dough Rise - Cover the bowl with a kitchen towel or plastic wrap and let rest for 12-16 hours in a warm, dry place (I keep it on my kitchen counter).
- Preheat Oven and Dutch Oven - Add your Dutch Oven to the oven and preheat the oven to 450 degrees F with a rack in the middle of the oven. The Dutch Oven should preheat for 30 minutes so it is very hot.
- Transfer Dough - When the dutch oven is preheated, transfer the dough to a large piece of parchment paper. Quickly remove the dutch oven from the oven and carefully lift the parchment paper into the dutch oven. You'll want to trim off any excess parchment paper so it isn't sticking out over the edges or it will burn. Put the lid back on and put back into the oven.
- Bake - Bake for 30 minutes with the lid on. Remove the lid and bake uncovered for an additional 15-20 minutes until the dough is golden and has a hard crust. Or you can use a thermometer to check the internal temperature - it should read 200-210 degrees F.
- Enjoy - Carefully remove the parchment and bread from the dutch oven and allow to cool before slicing or tearing the bread. Enjoy!
Notes
Preheat Dutch Oven - It's important to preheat the Dutch Oven so it gets nice and hot. To prevent damage to the Dutch Oven, you want to add it to the cold oven and then turn it on to preheat. It's better for the Dutch Oven to heat up slowly.
Nutrition
- Serving Size: ⅛ of the loaf
- Calories: 287
- Sugar: 0.3 g
- Sodium: 420.6 mg
- Fat: 9.9 g
- Carbohydrates: 36.9 g
- Fiber: 1.4 g
- Protein: 11.5 g
- Cholesterol: 28.1 mg


Anna Redwolf says
Sounds and looks fabulous however, the 12-14 hrs rise time, is that a typo?? Can’t imagine
I’m going to try it out
Kathleen Hansen says
Not a typo 🙂 no knead bread needs a longer rise time. I typically mix it up the night before and bake the next day.
Edie says
Hello I made this yesterday. The flavor was great and the inside was soft but the bottom of the loaf was so hard I couldn’t cut through it.
After rising the bottom of the bread was very dry! What did I do wrong?
Kathleen says
I'm sorry it didn't work out perfectly for you! A couple of thoughts.
1. If the dough was dry, then it sounds like there was too much flour/not enough water. When measuring flour, it's always best to use the spoon and level method (fluff up the flour, spoon it into the measuring cup, and level off the top). After mixing the dough, it should be very sticky. If needed, you can add another couple tablespoons of water.
2. I think the dry dough was the cause of the bottom being hard. BUT one other thing that can cause the crust to be too hard is if the oven is too hot. All ovens can run a little differently, so if yours runs hot you can lower the temp by 25 degrees/move the Dutch Oven further away from the heat source.
If you give it another try, let me know how it goes! I'm also easily available via Instagram DM.
Katie says
I LOVE this recipe! It was so easy to make and I was amazed by the results! I can't wait to try making it with different cheeses. I'm going to try a pepper jack next to add some spice.
Kathleen says
Yay! I'm so glad that you loved it!
Carol says
An I use whole wheat flour instead
Kathleen Hansen says
I haven’t tested it with whole wheat - but it would change the hydration ratio (ie, likely need more liquid). Maybe someone else in the comments will chime in if they’ve successfully tried the swap!
Gloria says
This is an excellent recipe. I have made overnight no knead bread before, but not the cheese bread. I made this while visiting a friend, and used 6 oz. of horseradish cheddar cheese cut into 1/4 inch dice, and a handful of shredded Monterey Jack and cheddar ( friend was out of plain cheddar). The bread was delicious, with just a hint of spiciness from the horseradish cheddar.
I kneaded the dough briefly after the end of the rising time, and let it rise while the pan was heating. Cut the top in an X pattern before putting it in the oven.
Kathleen says
I’m glad you liked it! I love the ida of using horseradish cheddar for some spice.
Carter says
I just made this and it was my first time using cubed cheese instead of shredded - LOVED IT! It was a way cheesier texture and not too doughy at all. I'll definitely make this again!
Kathleen says
Yay! I'm so glad you loved it, Carter. Thank you so much for your comment 🙂
Kim says
Made this recipe yesterday...
My mouth was watering just waiting to dive in... Absolutely amazing😋
Everyone must try it!! Thank you so much for inspiring me, Kathleen
Kathleen says
I’m so glad you liked it! Thank you for your kind comment, Kim!
Kelley says
Can you shorten the rest time if you have a proofing setting on your oven?
Kathleen says
Hi Kelly, I can’t say for certain as I haven’t tested that (unfortunately I don’t have that oven setting). But I say use your best judgement, and I’d love to know if it works for you! 🙂
Jean says
My poor little Dutch oven is only 2 quarts. Has anyone split this in half and made 2 little loaves?
Kathleen says
Hi Jean! I have not tried splitting this in half, but I don’t see why it wouldn’t work! You’ll need to adjust the bake time, but it should work fine. If you try it, let us know how it goes! 🙂
Jeanne says
I have a Lodge enameled Dutch over. The instructions say not to put it in the hot oven empty. Has anyone had a problem preheating their Dutch oven? I’d hate to ruin it.
Kathleen says
Hi Jeanne - I certainly don't want any damage to your dutch oven either. I use a Staub Dutch Oven and place it in the cold oven and then preheat it so it heats up slowly to reduce the risk of thermal shock. I have never had any issues, but I want you to feel comfortable about your equipment. I found this article from King Arthur that talks about preheating the Dutch oven vs using it cold. It says that you could try not preheating your dutch oven, the look and texture of the bread may differ but according to this article it can still result in some pretty tasty bread. If you give it a try (preheating or not), let us know how it goes! https://www.kingarthurflour.com/blog/2017/07/05/baking-in-a-cold-dutch-oven
Donia says
Can you send de shredded cheese instead of cubed?
Kathleen says
Absolutely! Shredded cheese works just fine. Enjoy!
Karsyn Schirmer says
My fiancé and I were feeling lazy but wanted to bake bread, and this was a perfect recipe for that! Easy, cheesy, and almost too delicious.
Kathleen says
I’m so glad you liked it! Thank you for using my recipe and thank you for your comment :). Enjoy!!
LORI PAYNE says
This recipe is identical to a regular artisan bread recipe I have done in the past with the exception of this recipe calls for only 1 teaspoon yeast and mine calls for 2 teaspoons yeast. Because this has cheese added is that why there is 1/2 less yeast? Just wondering if I can add cheese to my original recipe or better to follow this?
Kathleen says
Hi Lori. I have not tested this recipe with 2 teaspoons of yeast, so I can't say for certain. You certainly try adding cheese to your go-to recipe and see how it goes. If you do give my recipe a try, I hope you enjoy it! Have a great day!
Karen says
Super Easy to Follow Recipe. I Prepared the Ingredients as Directed Yesterday. I Baked the Bread Today. 1/2 of the Loaf has Been Eaten Already. I Am Gathering Ingredients
for Another 1 Now. Thank You For This Crusty, Cheesy , Delicious Recipe !!!
Kathleen says
Yay! I'm so glad the first loaf has been enjoyed :). Thank you for your comment! Enjoy loaf #2!
Leanna says
Love, LOVE! I love it so much that I'm making 15 loaves and selling at our Christmas Bazaar.
Question: How do I instruct people to store the cheesey bread?
Kathleen Hansen says
I love that! It can be stored, tightly wrapped, at room temperature for 2-3 days or in the fridge for up to 1 week. I’ve even frozen slices before and it reheated wonderfully.