A fresh and colorful Fruit Charcuterie Board is the perfect option for any party! It can be served for brunch or in the evening as an appetizer or dessert! Mix and match with your favorite fruits and lots of options for other fun additions - such as fruit dip, honey, cheese, and more!
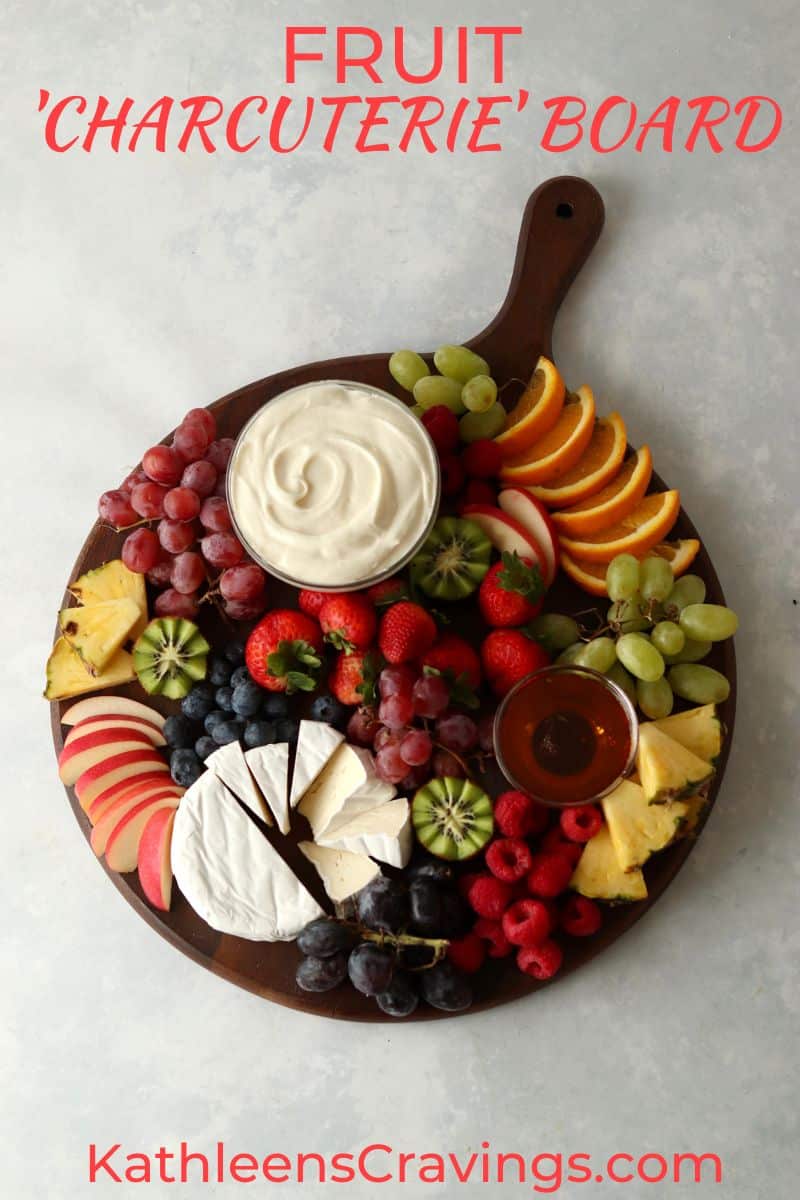
Grazing boards have become all the rage and for good reason! They're easy to put together, beautiful to serve, and allow guest to pick and choose what they like.
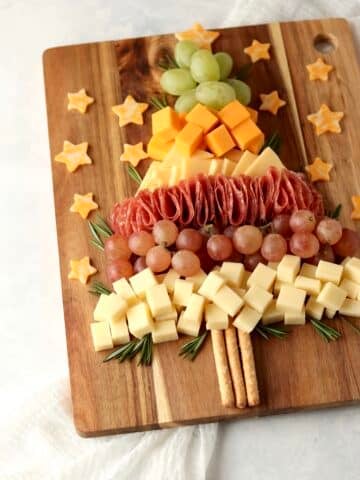
While charcuterie means cold cooked meats so a traditional charcuterie board is made up of meats like prosciutto and salami. The term charcuterie board has evolved in usage to represent lots of varieties of grazing boards! If you're looking for another unconventional board, try this Dessert Charcuterie Board or Christmas Tree Charcuterie Board!
Jump to:
⭐Why I Love It:
- Party Ready Presentation - I promise it will impress your guests!
- Colorful - Look at that beautiful rainbow!
- Customizable - The options are things to add are endless!
🥘Ingredients
There are so many fun fruit charcuterie board ideas! Pick and choose from the below list to suit your preferences:
- Fruit - Get a variety of fruit with lots of different colors! Berries, Apples, Pears, Oranges, Pineapple, Grapes, Kiwi, and more!
- Fruit Dip - I love to add a bowl of cream cheese fruit dip. You can mix it up in advance!
- Honey - A small bowl of honey for guests to drizzle on their fruit.
- Caramel - Another great choice for drizzling!
- Whipped Cream - Add a bowl of whipped topping instead of or in addition to the cream cheese fruit dip.
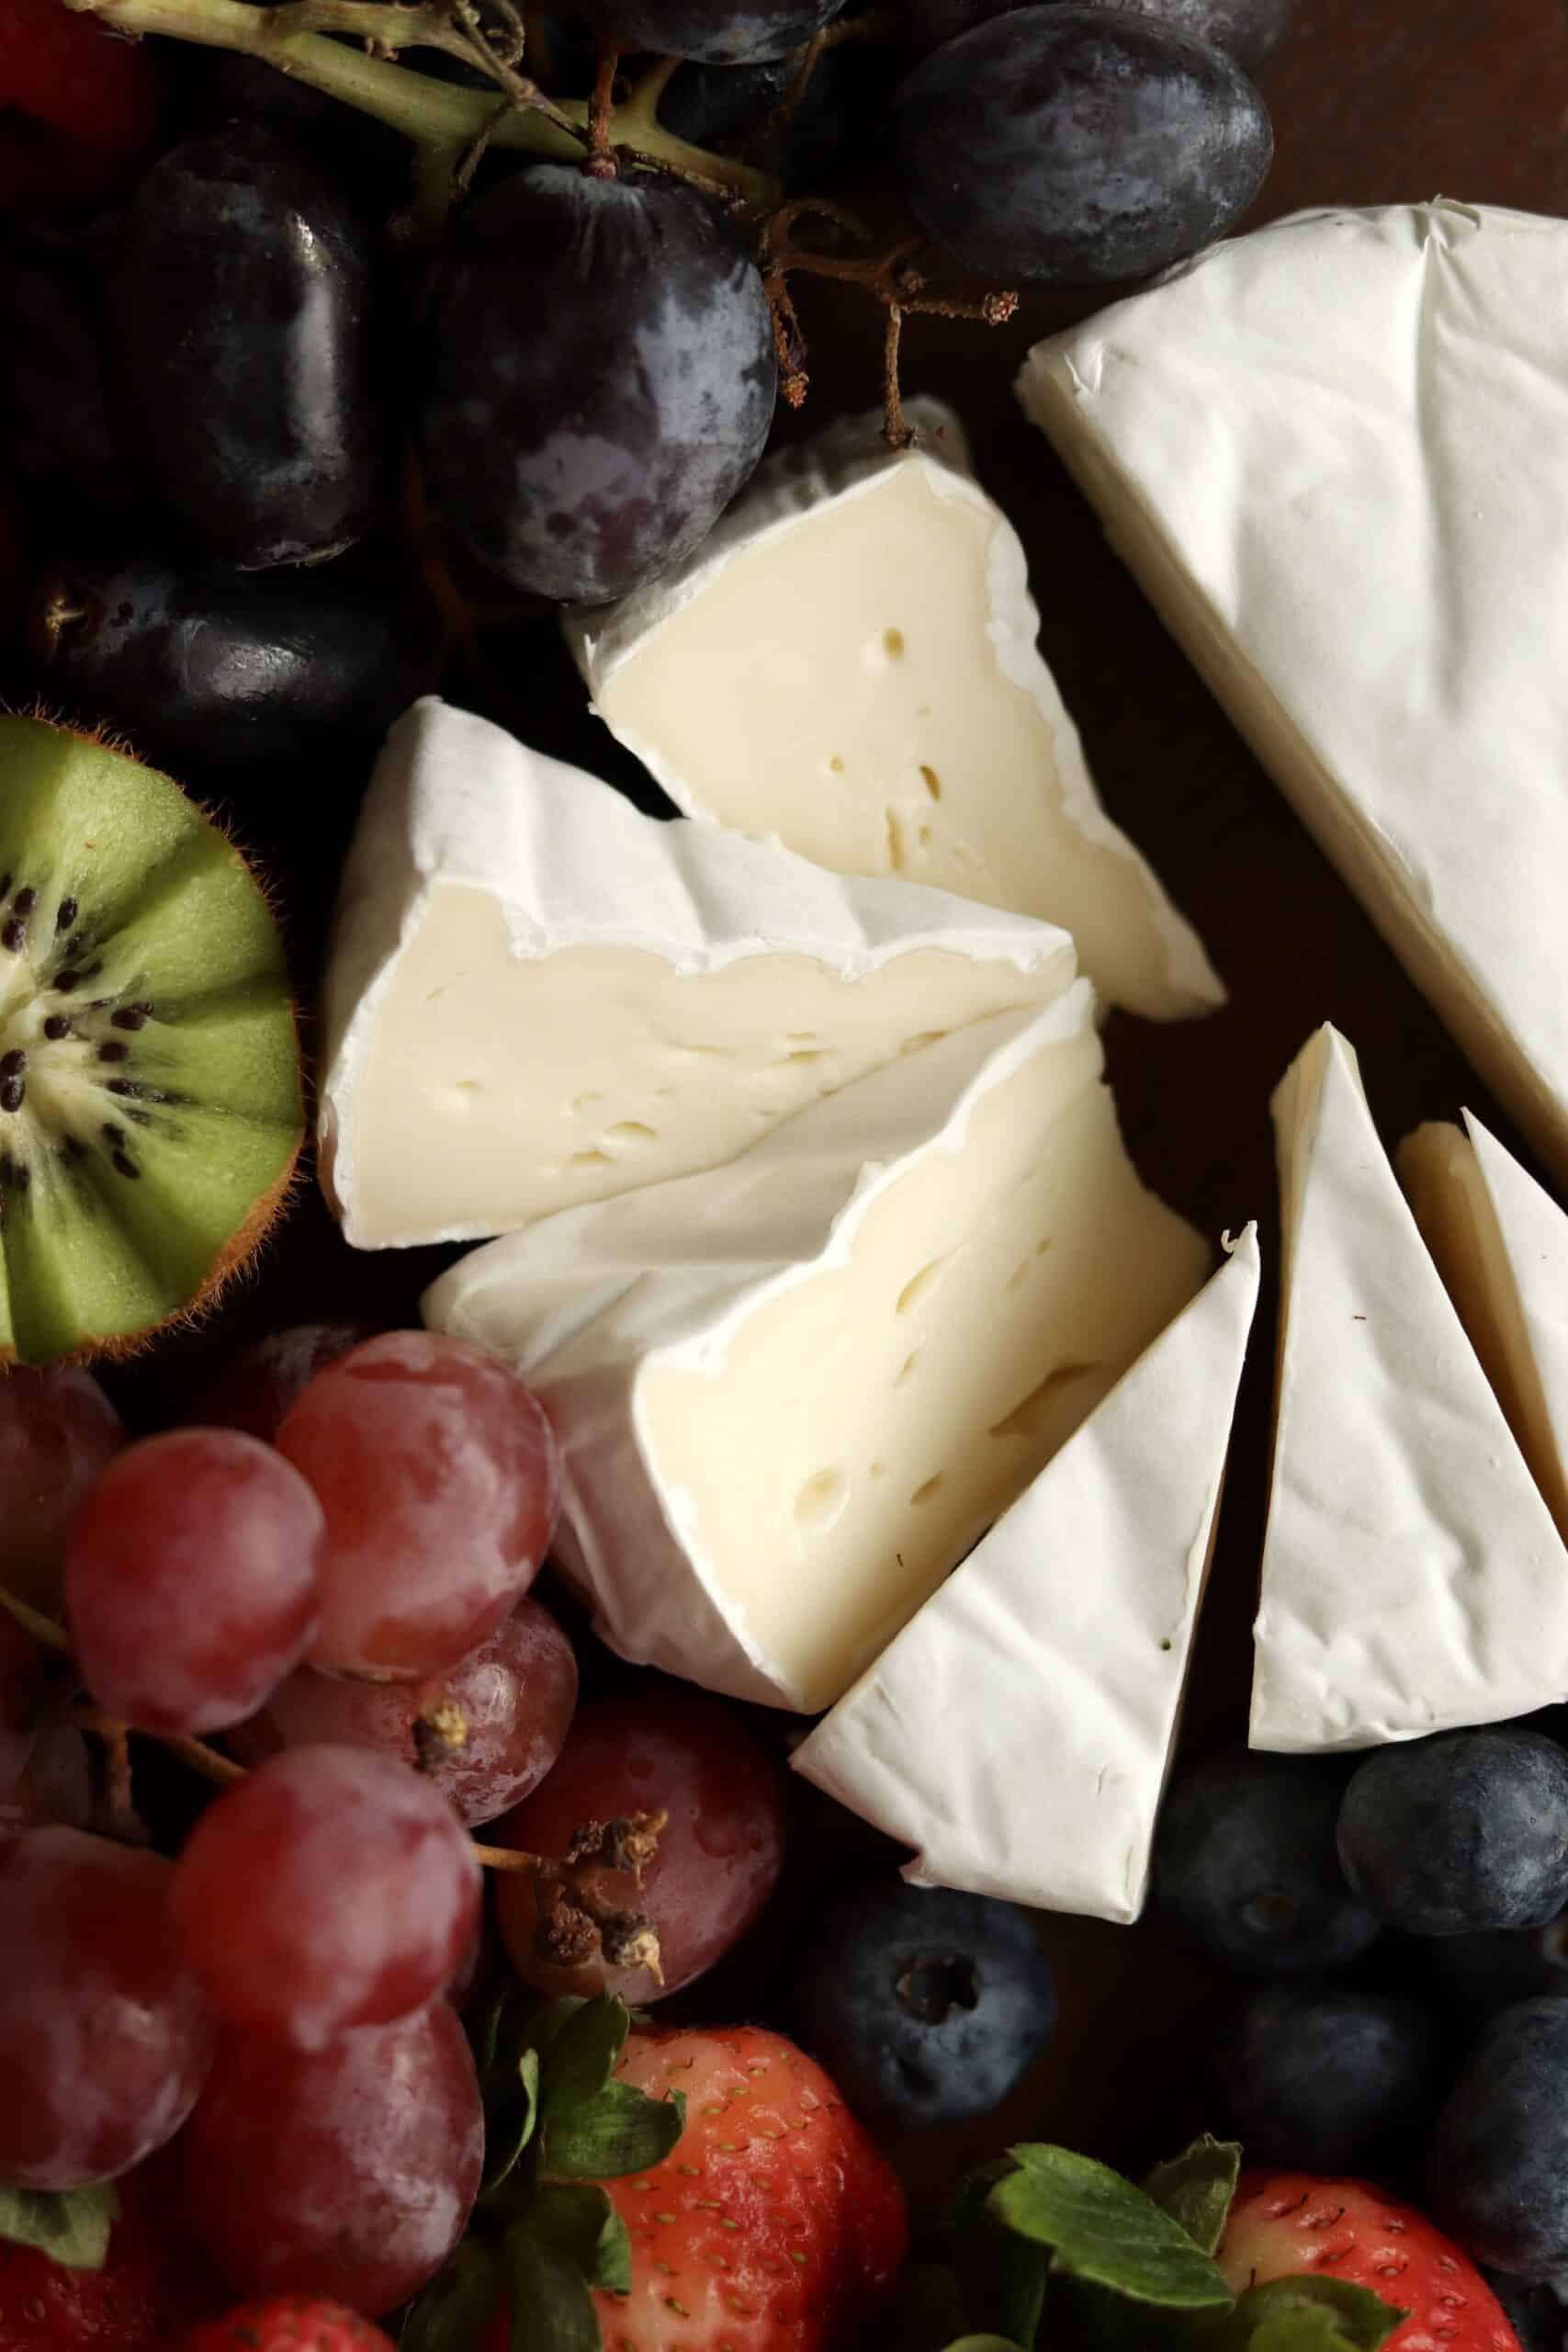
- Cheese - I love to pair brie cheese with fruit but a sharp white cheddar or gouda would also be great!
- Meat (Charcuterie) - I kept my fruit 'charcuterie' board vegetarian, but you can add meat like prosciutto or salami as well.
- Cookies or Crackers - I made my board with just fruit, cheese, and dips but you can add some cookie or crackers as well. Some favorites are graham crackers, vanilla wafers, or pretzels.
- Nuts - I didn't use any, but nuts (like pistachios, cashews, or even stovetop candied pecans) are great to add some crunch!
See the recipe card for full information on ingredients and quantities.
🔪Equipment
- Small Bowls - You'll want to use small bowls for the dip and honey, if using. I love to place these on the board first to serve as anchors/focal points that you arrange the fruit around.
- Wooden Board or Other Platter - The most important part is having a board or platter to arrange the fruit 'charcuterie' board. If you don't have a board or platter, you can even use a sheet pan!
- Paring Knife - You'll want a sharp knife to cut up the fruit.
🍽Boards to Use
Don't have a classic wooden charcuterie board? That's okay! There are lots of options:
- Wooden Board - This is the classic option (like pictured).
- Marble Board - Be aware that anything acidic (like citrus) may stain the marble.
- Serving Platter - Any serving platter can work!
- Large Plate - A plate is a great option, especially if you're making a smaller spread.
- Baking Sheet - Using a regular sized or half-sized sheet pan is another great option that you already have on hand!
🍎Step by Step Instructions
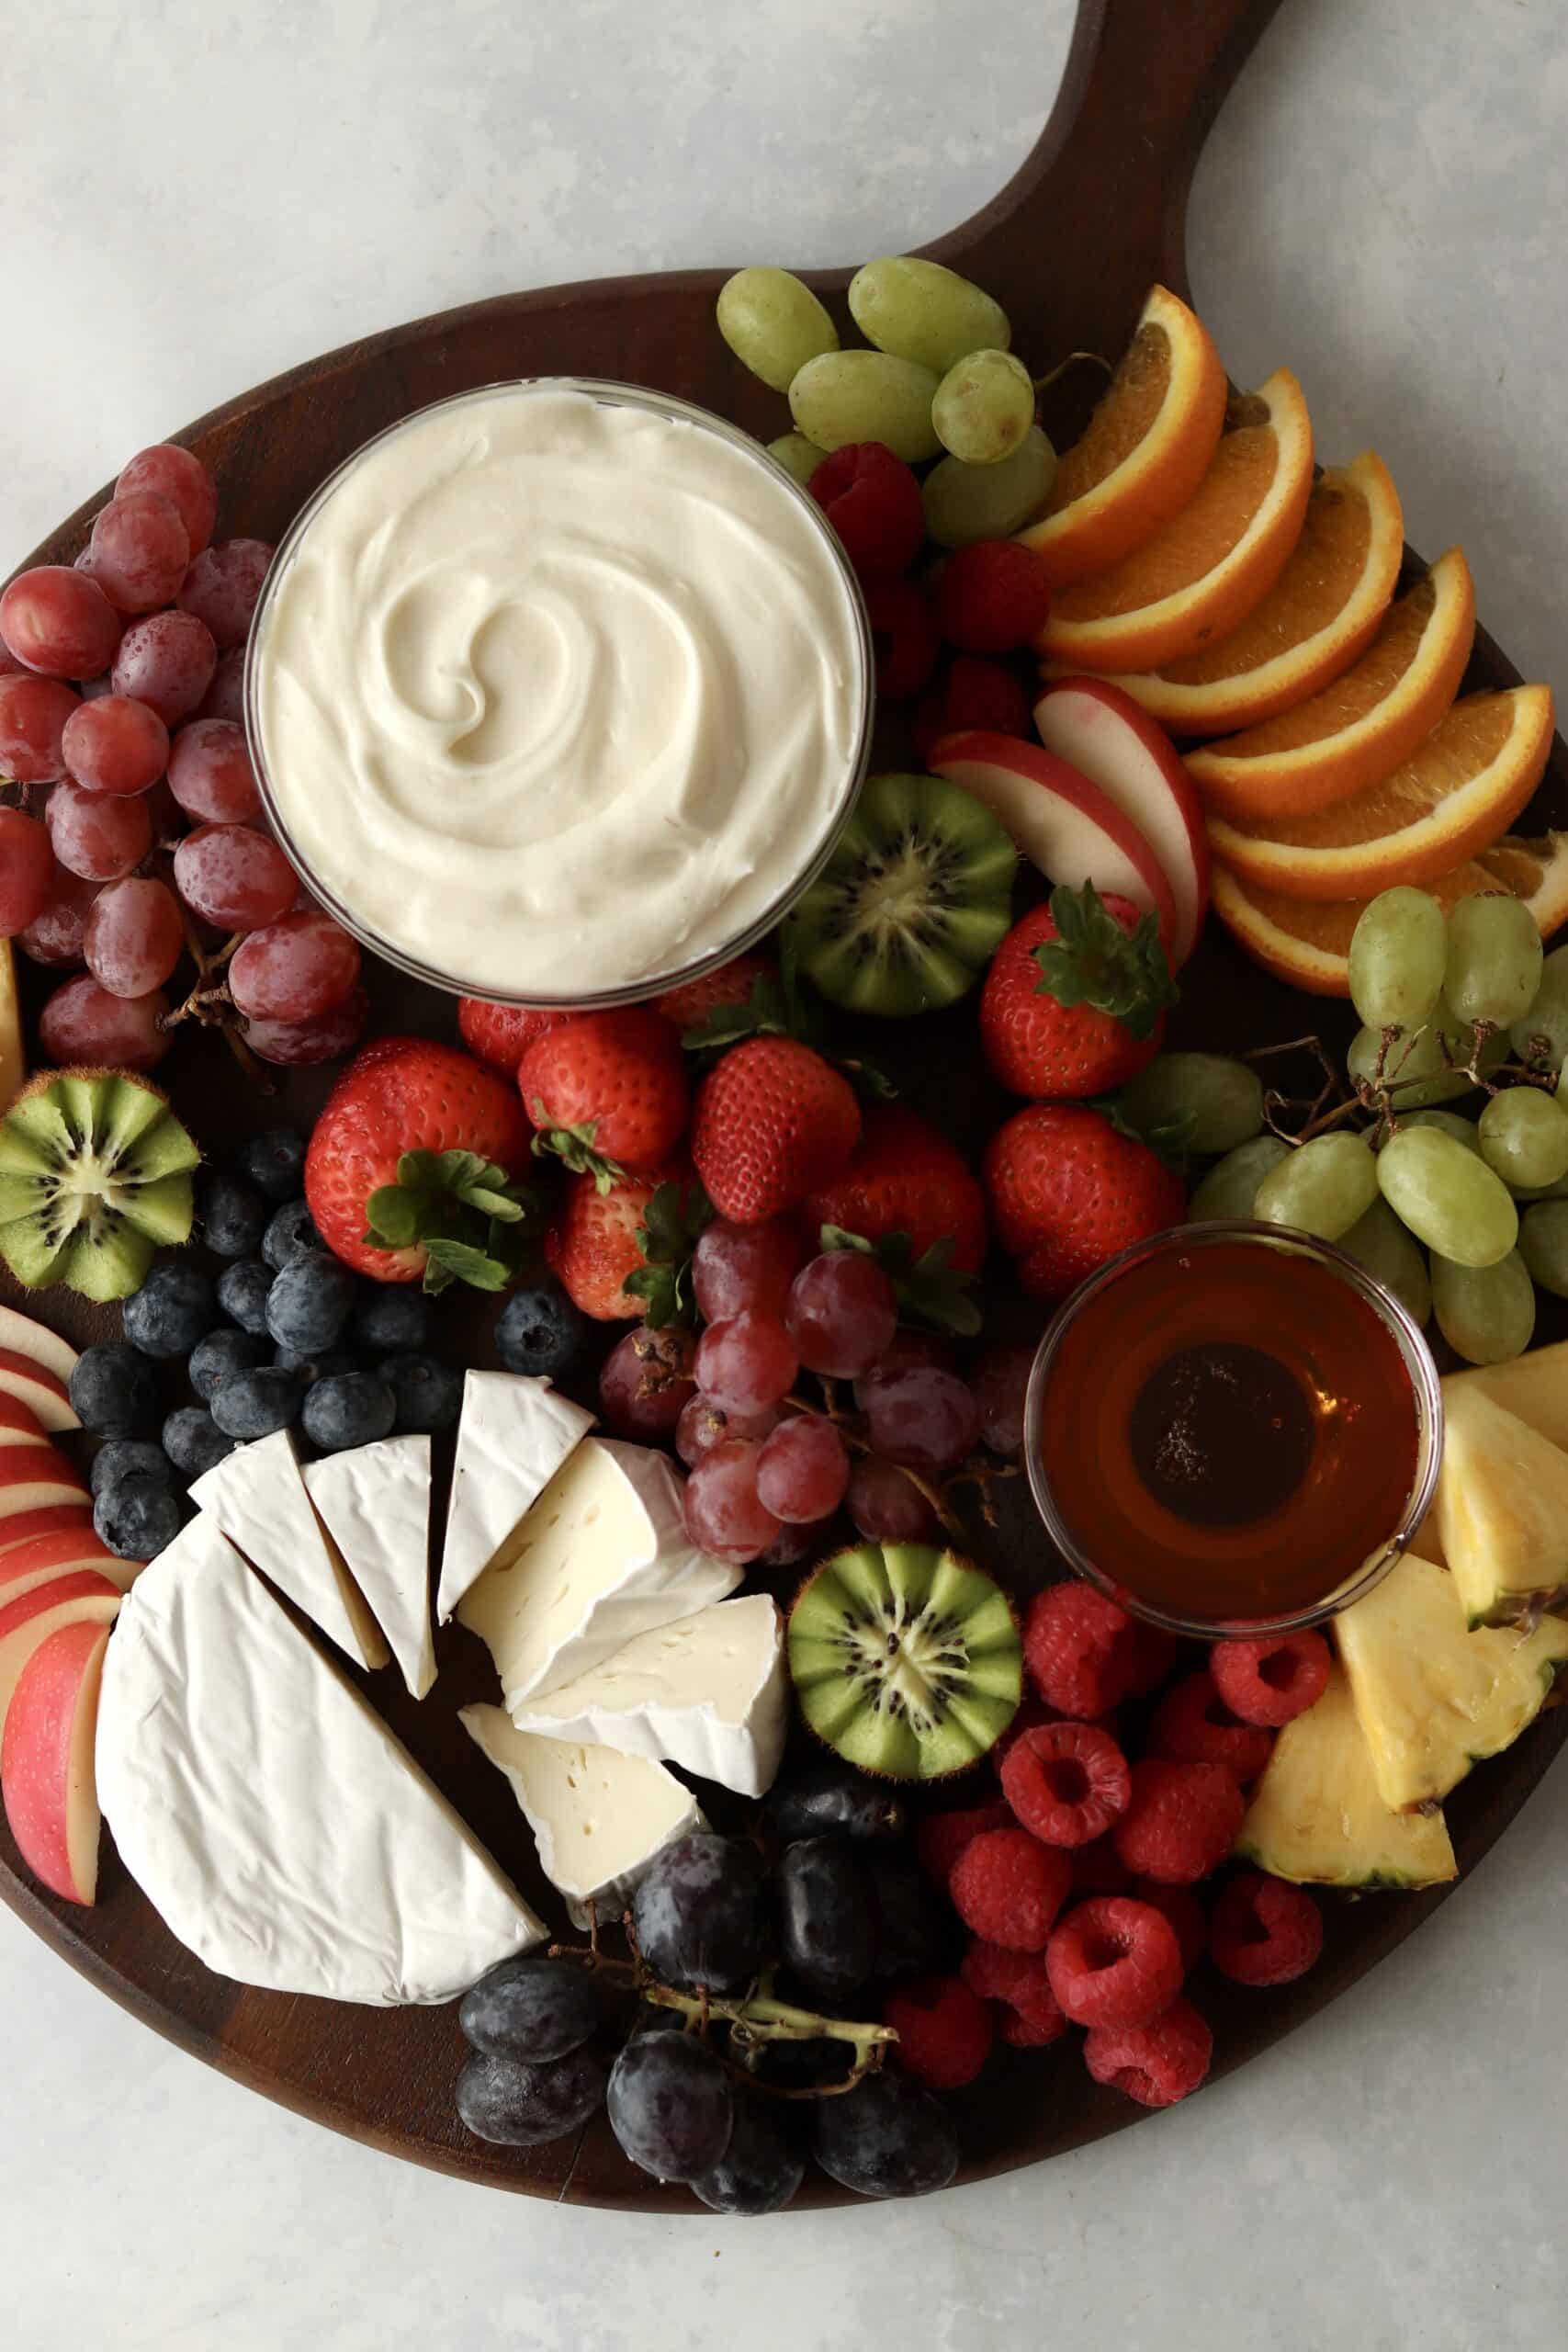
Assembling a beautiful fruit charcuterie board is easier than you think - see my tips for assembly and use the picture for inspiration!
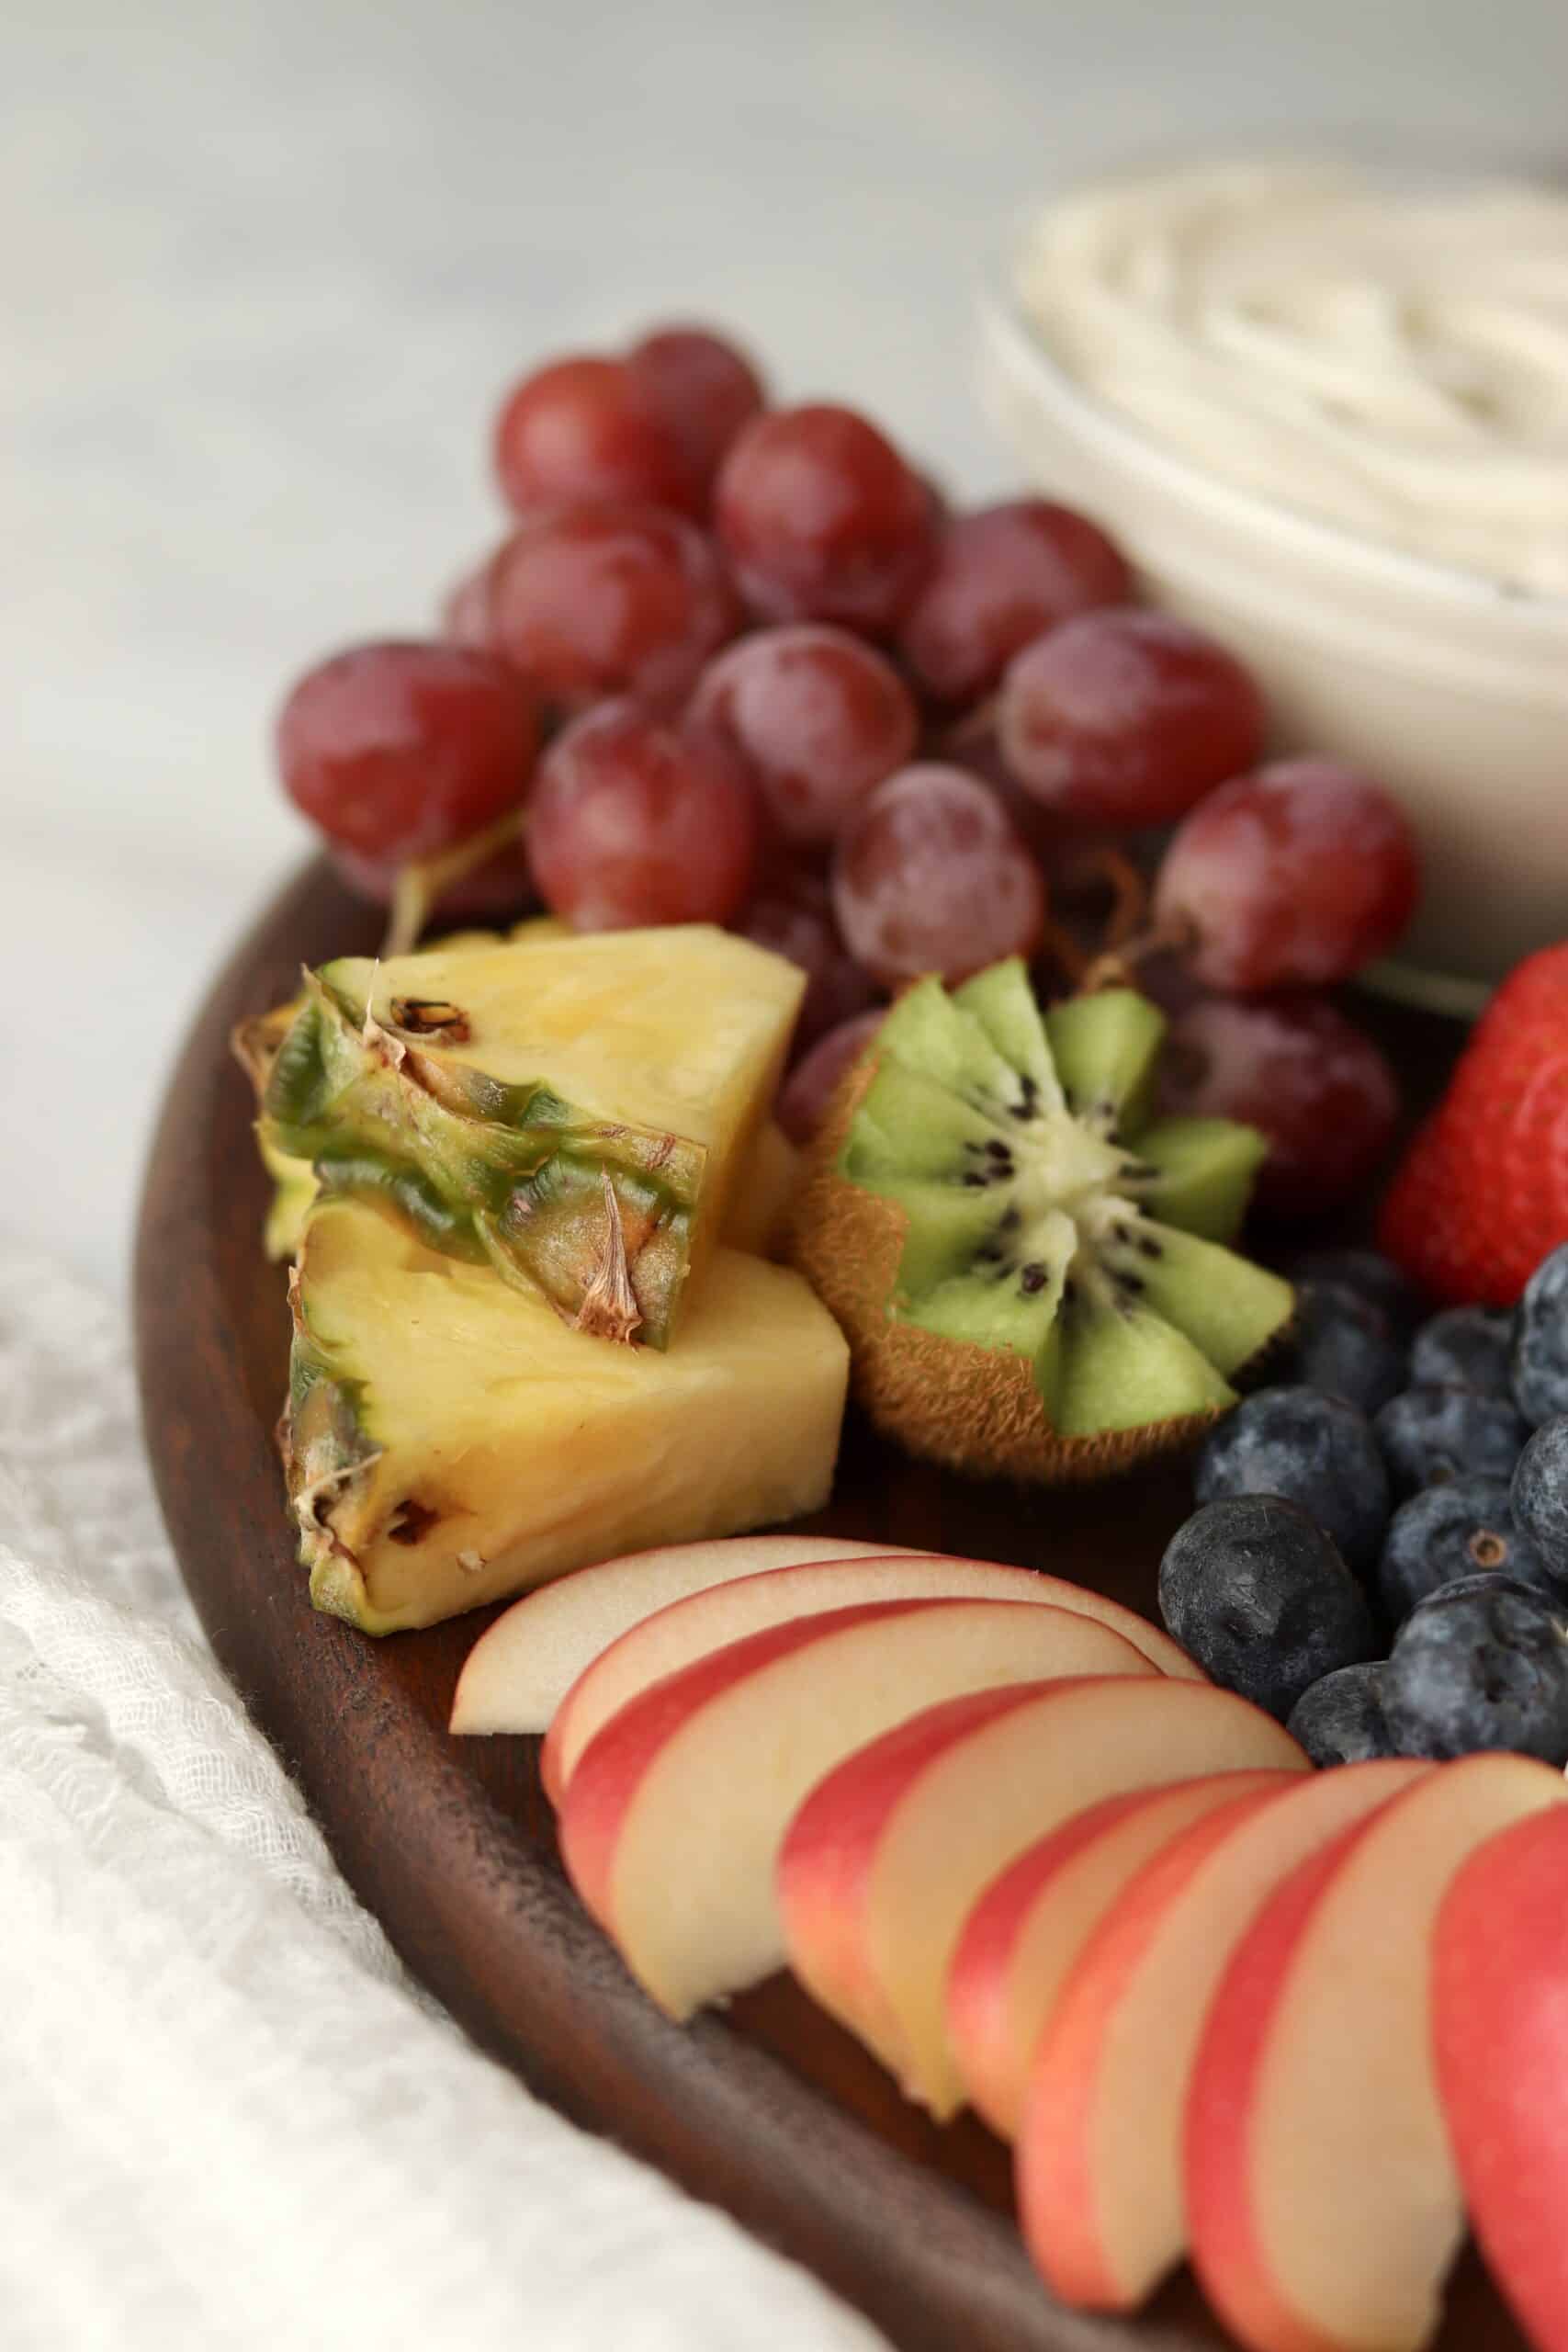
Photo 1 - Cut the fruit in varying shapes to add variety to the board.
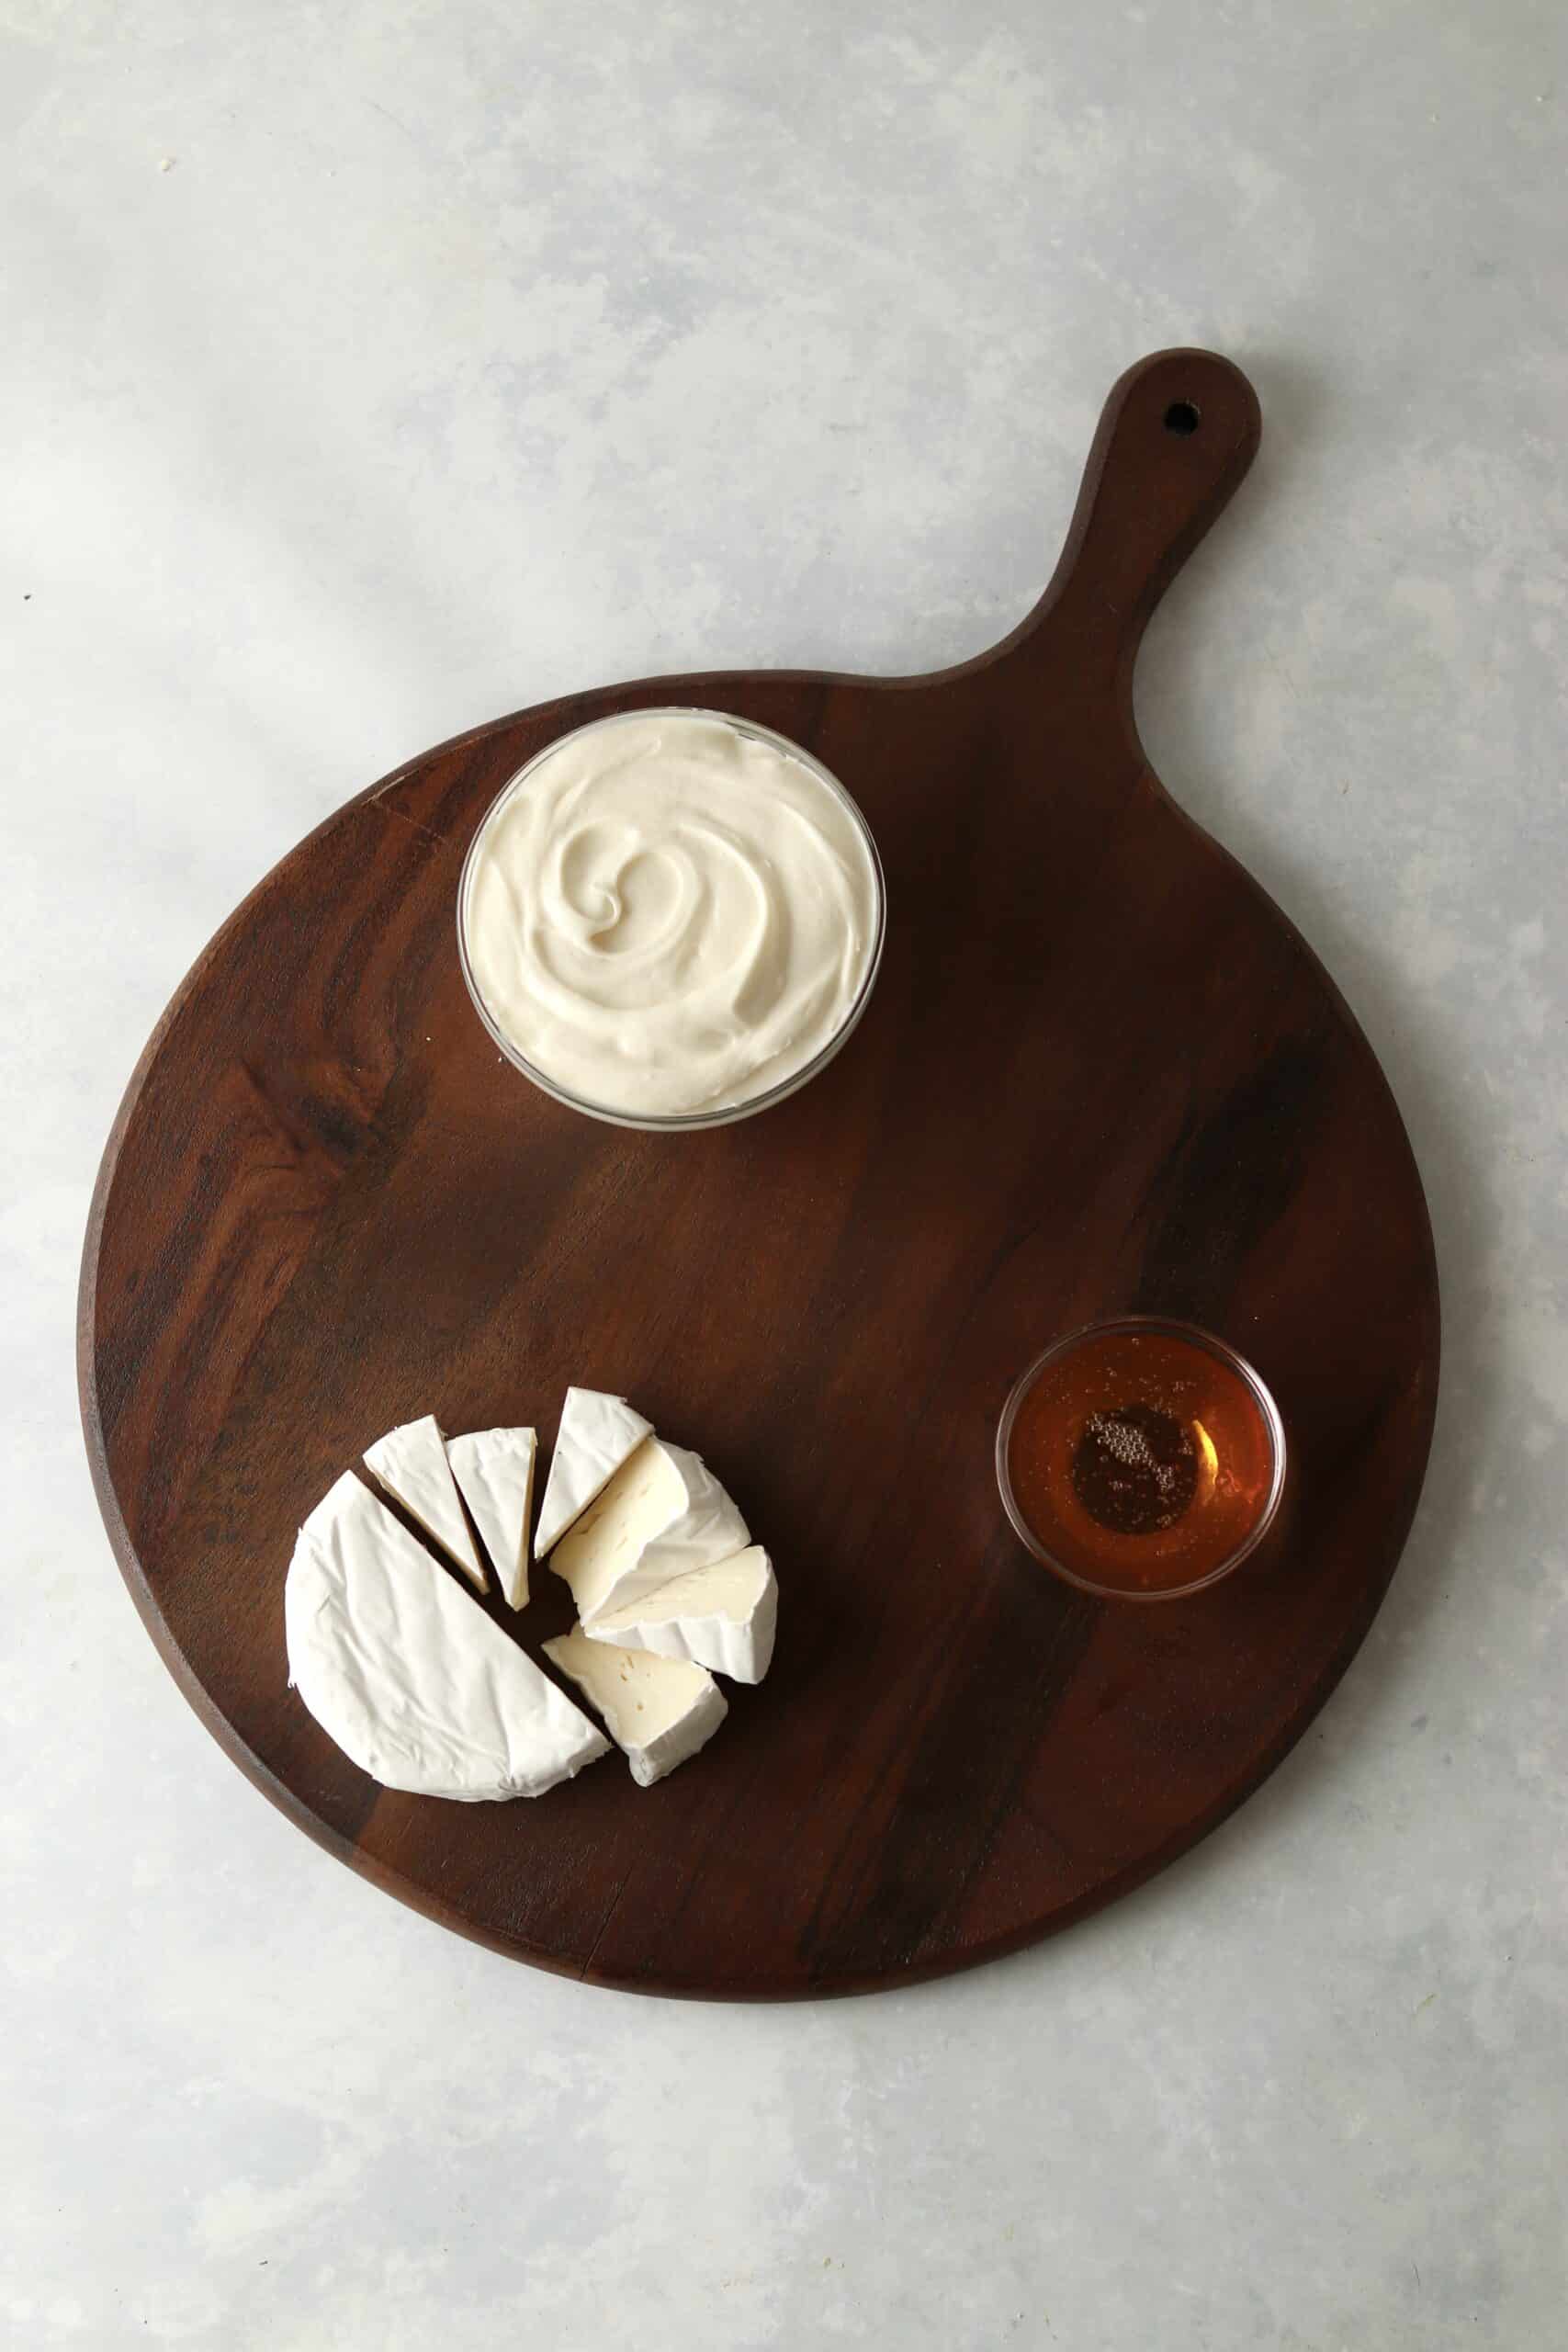
Photo 2 - Adding the bowls and cheese first serves as 'anchors' that you can arrange the fruit around.
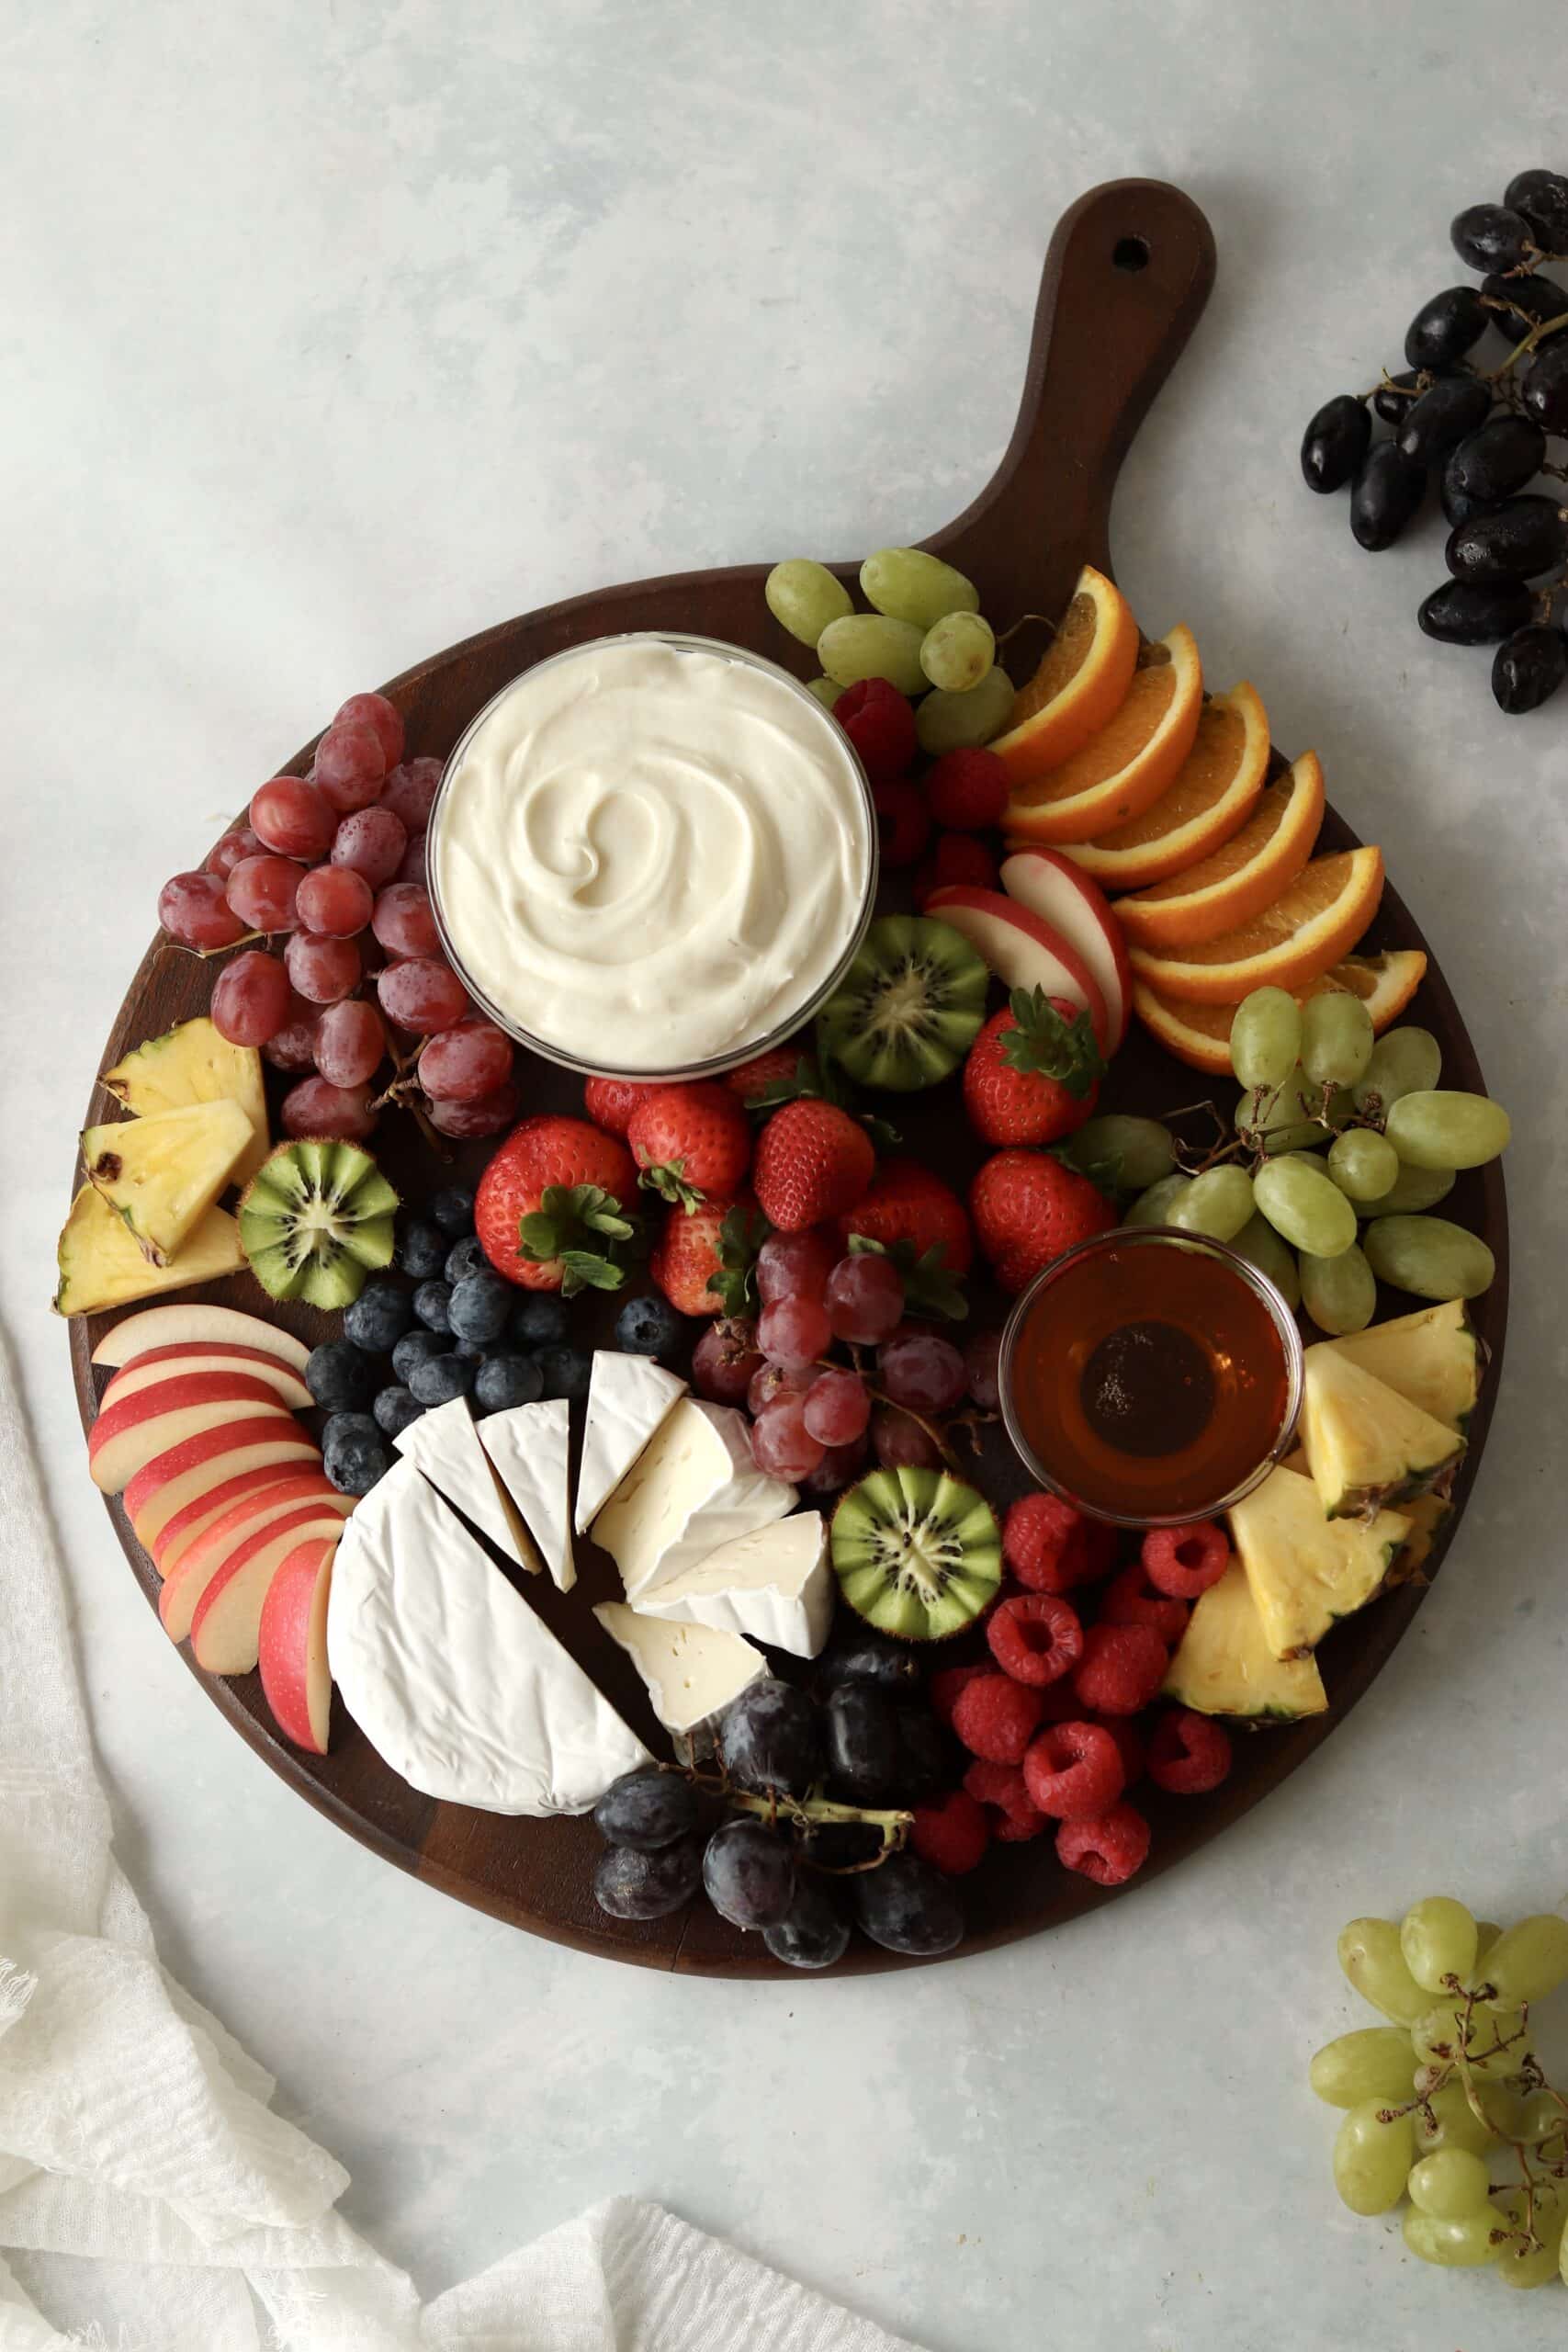
Photo 3 - Start adding the fruit. For the best presentation, I like to add the fruit in clumps trying to avoid putting similar colors next to each other.
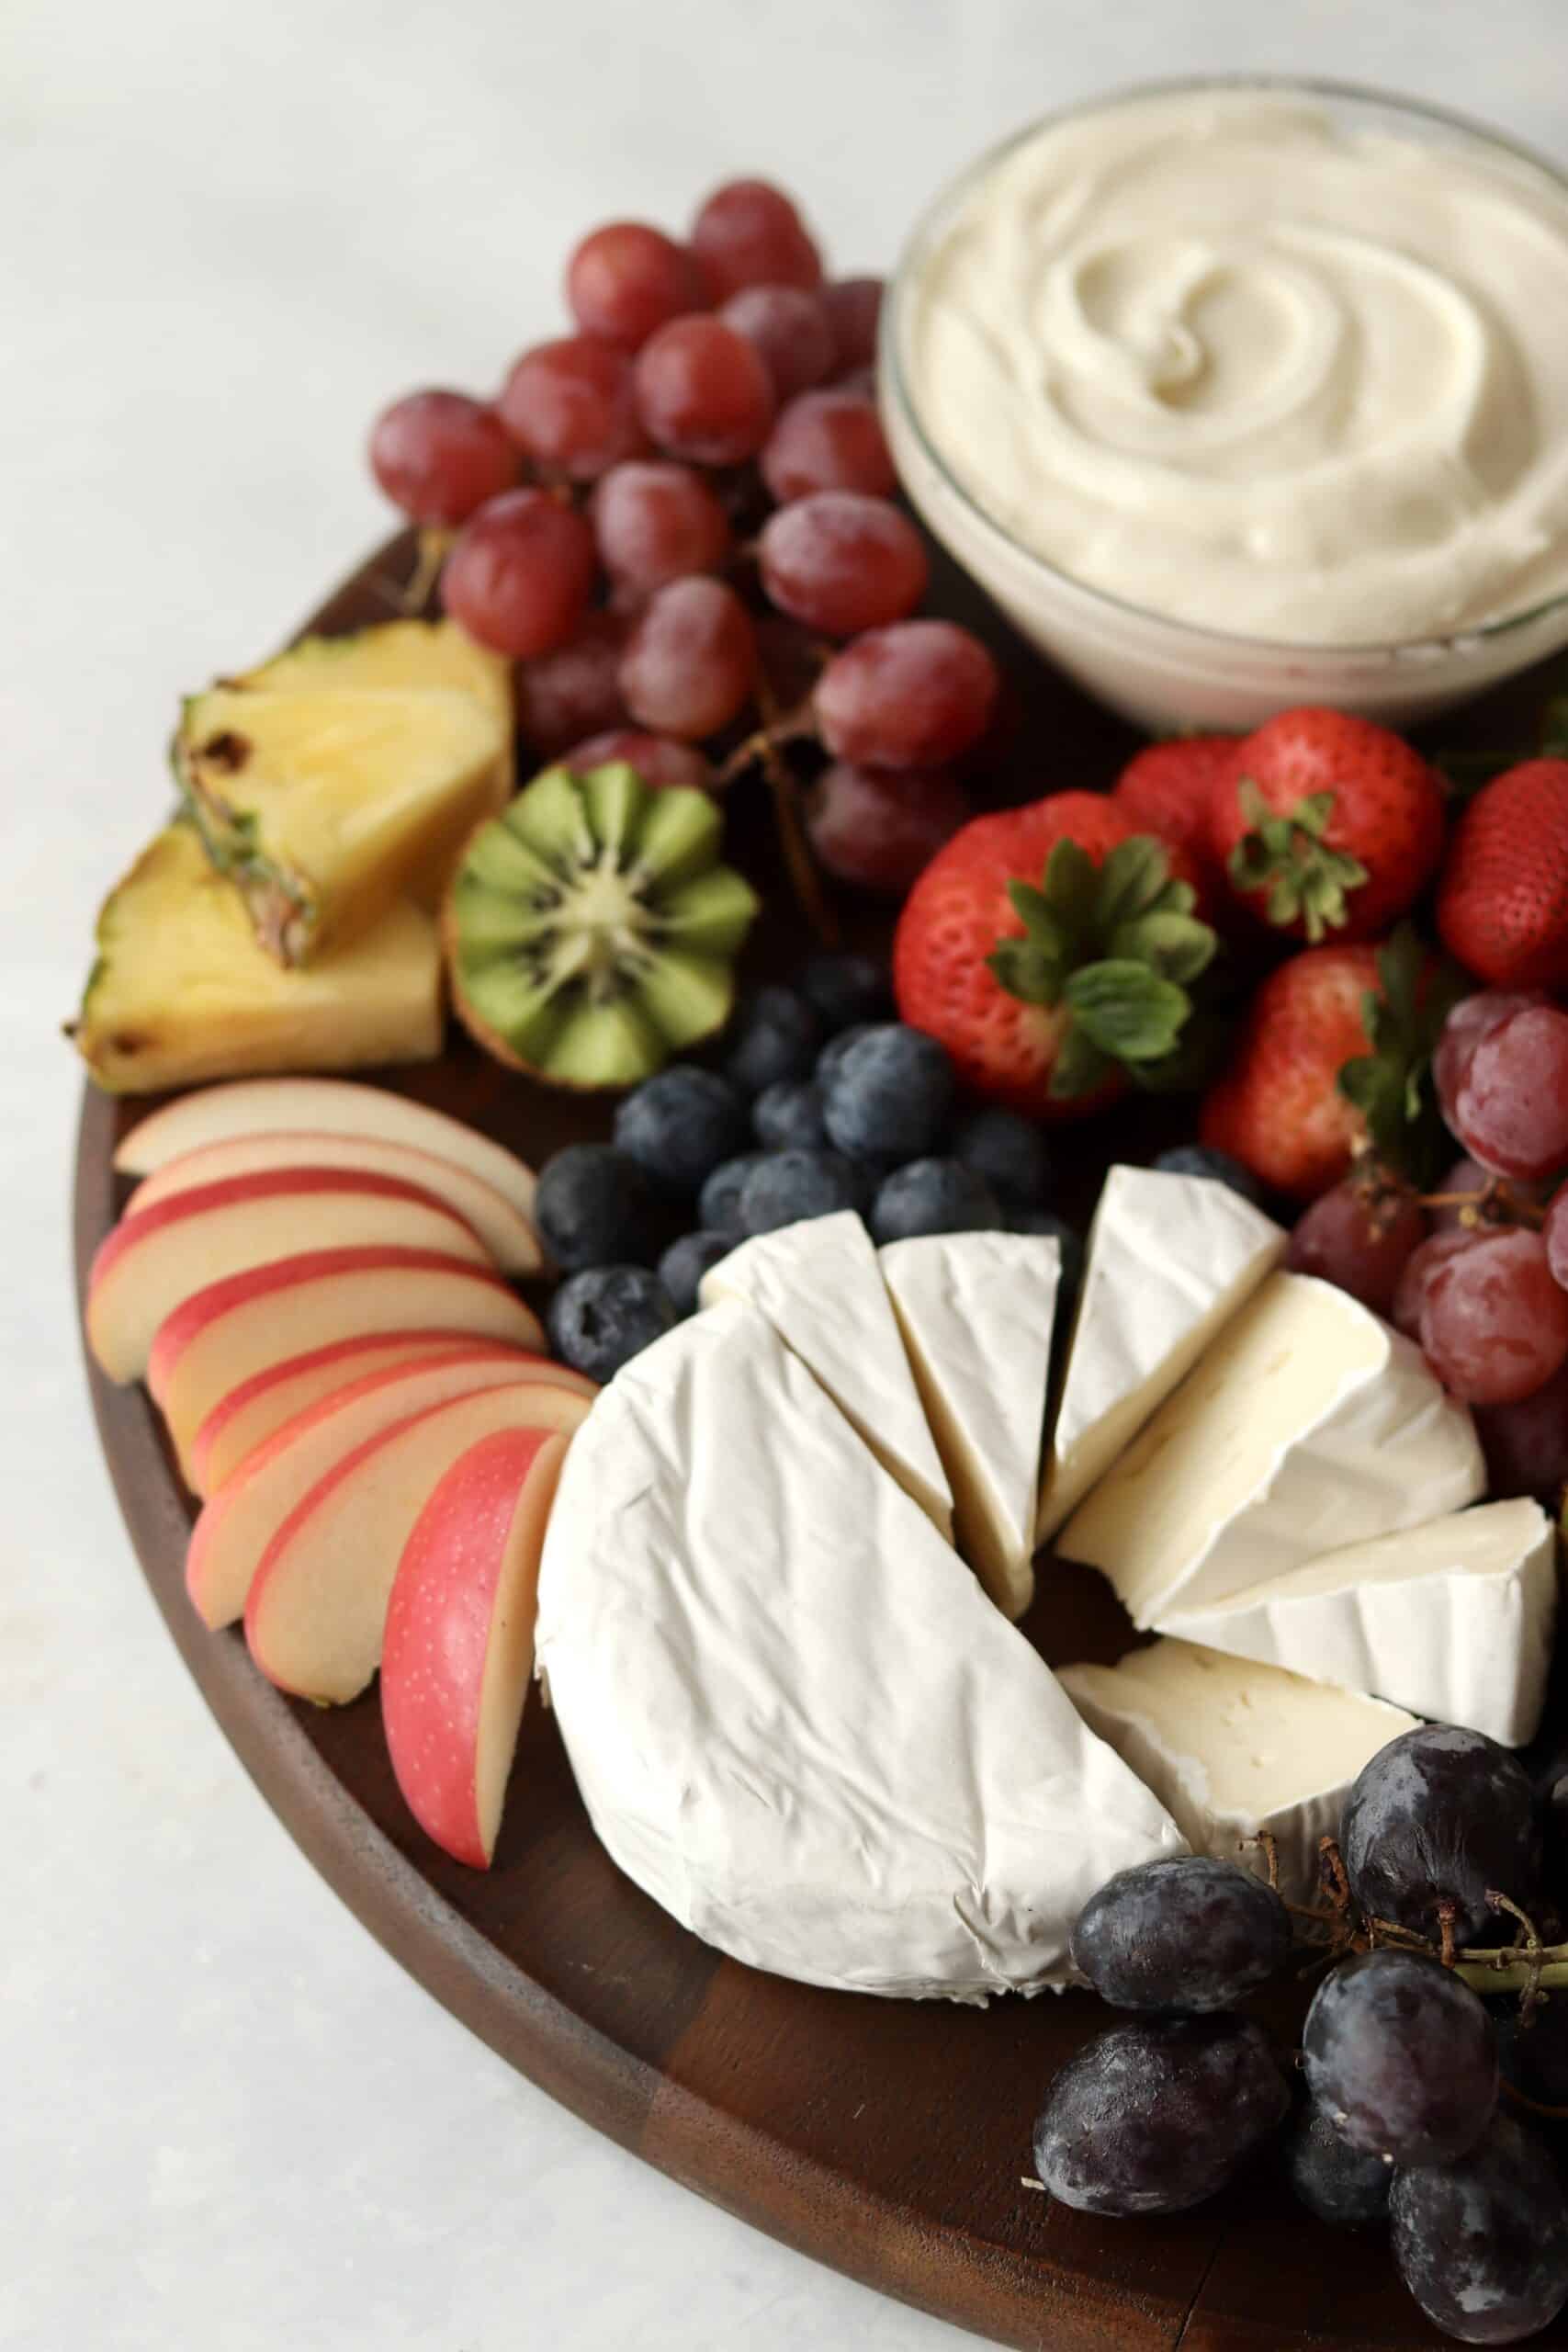
Photo 4 - Serve the board right away. You can store extra fruit in the fridge and refill as the night goes on.
🍊How to cut Fruit for a Charcuterie Board
- Oranges - Cut the orange in half then into slices. I like to fan out the slices on the board.
- Apples/Pears - Cut apples/pears into thin slices and fan out on the board.
- Strawberries - Strawberries can be left whole (even with the stem) or cut in half. You can even cut thin slices in the berry (leaving the thicker end intact) to slightly fan them out.
- Pineapple - I like to cut the pineapple into short spears with some of the skin on the ends for a prettier presentation. Alternatively you can cube it as well.
- Kiwi - For a pretty presentation, cut kiwi in half then cut out notches to make a star on top. Alternatively, you can cut off the peel an cut the kiwi into slices or half moons.
🍴Leftovers and Storage
I recommend storing the fruit in airtight containers in the fridge, separately from the cheese/dips. Most fruit (except for fruit that will brown like apple slices) will stay fresh for a few days.
Store leftover fruit dip in an airtight container in the fridge for a few days. If you have leftover brie, you can also store that in the fridge in a container for a few days - or use the leftover brie to make a brie grilled cheese!
💭Recipe Tips
- Assemble Right Before Serving - Although you can cut up most of the fruit in advance and store in the fridge, I recommend assembling the board right before serving so everything is still fresh and crisp.
- Assemble in the Serving Location - Unless your board has edges (like using a serving tray or baking sheet), then you'll want to assemble in the actual serving location so you don't risk the fruit rolling off the board in transport.
- Contrasting Colors - This is my number one tip when assembling any charcuterie board. For the best presentation, you want to have contrast! Try to avoid like-colored fruits together (such as red strawberries and red raspberries) and instead aim for lots of contrast.
- Large Fruit First - I like to do the larger clumps of fruit first (like the grape clusters or fan of orange slices). Then it's easy to fill in spots with things like berries.
👩🍳Recipe FAQs
There are so many options to put on a fruit board! My go-to is a variety of fruit, a fruit dip, a cheese (like brie), and honey. But you can also add meat, nuts, and cookies/crackers.
The key to keeping the fruit fresh on a charcuterie board is keeping the fruit in the fridge and only assembling the board right before serving! If your board is going to be sitting out at a long party, then pick fruit that won't brown (so no apples).
🥨Related Appetizer Recipes...
Like this recipe? Sign up for my e-mail list so you get a weekly e-mail with new recipes from the week as well as occasional ‘bonus’ content not found on the blog! AND receive a copy of my FREE MINI EBOOK! E-mail link sign up!
Those ads on the page? A portion of all ad revenue is being donated to Warrior Dog Rescue. A MN-based dog rescue that I foster and volunteer with.
PrintRecipe
Fruit Charcuterie Board
A fresh and colorful Fruit Charcuterie Board is the perfect option for any party! It can be served for brunch or in the evening as an appetizer or dessert! Mix and match with your favorite fruits and lots of options for other fun additions - such as fruit dip, honey, cheese, and more!
- Prep Time: 20 minutes
- Cook Time: 0 minutes
- Total Time: 20 minutes
- Yield: 6 servings
- Category: Appetizer
- Method: No Cook
- Cuisine: American
- Diet: Vegetarian
Ingredients
Fruit - Choose 4-8 Depending on # of Servings
- 1 lb strawberries
- 1 pound seedless grapes
- 1-2 oranges, sliced
- ½ pineapple, cut into chunks or sliced
- 1 cup blueberries, raspberries, or a combination
- 1 apple, sliced
- 1 pear, sliced
- 3 kiwis, sliced or cut into halves
Fun Extras
- Cream Cheese Fruit Dip
- ¼ - ⅓ cup Honey
- 1 wheel of brie, cut into wedges
- Nuts, pistachios, cashews, almonds, or candied pecans
- Charcuterie Meat, like prosciutto or salami
Instructions
- Slice up the Fruit - Start by washing and cutting up the fresh fruit. I like to cut the fruit in varying shapes to add variety to the board. You can do most of this earlier in the day and store in airtight containers in the fridge.
- Assemble Board - Add Bowls of Dip and Cheese - I like to start by adding the bowls of fruit dip, honey, and cheese first to serve as 'anchors' that you can arrange the fruit around.
- Assemble Board - Arrange Fruit - Start adding the fruit. For the best presentation, I like to add the fruit in clumps trying to avoid putting similar colors next to each other. Starting with the larger fruit first (like the clumps of grapes or orange slices) is easiest and you can fill in with the smaller fruit, like blueberries. Check out the photo for inspiration!
- Serve - Serve the board immediately after assembling and enjoy!
Notes
Leftovers - I recommend storing the fruit in airtight containers in the fridge, separately from the cheese/dips. Most fruit (except for fruit that will brown like apple slices) will stay fresh for a few days. Store leftover fruit dip in an airtight container in the fridge for a few days. If you have leftover brie, you can also store that in the fridge in a container for a few days
Nutrition
- Serving Size: ⅙ of fruit with brie and honey
- Calories: 341
- Sugar: 52.8 g
- Sodium: 141.5 mg
- Fat: 7 g
- Carbohydrates: 69 g
- Fiber: 8.6 g
- Protein: 7.6 g
- Cholesterol: 21.3 mg
Keywords: Fruit Charcuterie Board, Fruit and Cheese Board

Katie says
Such a pretty fruit board! My family loves making the cream cheese dip.
★★★★★